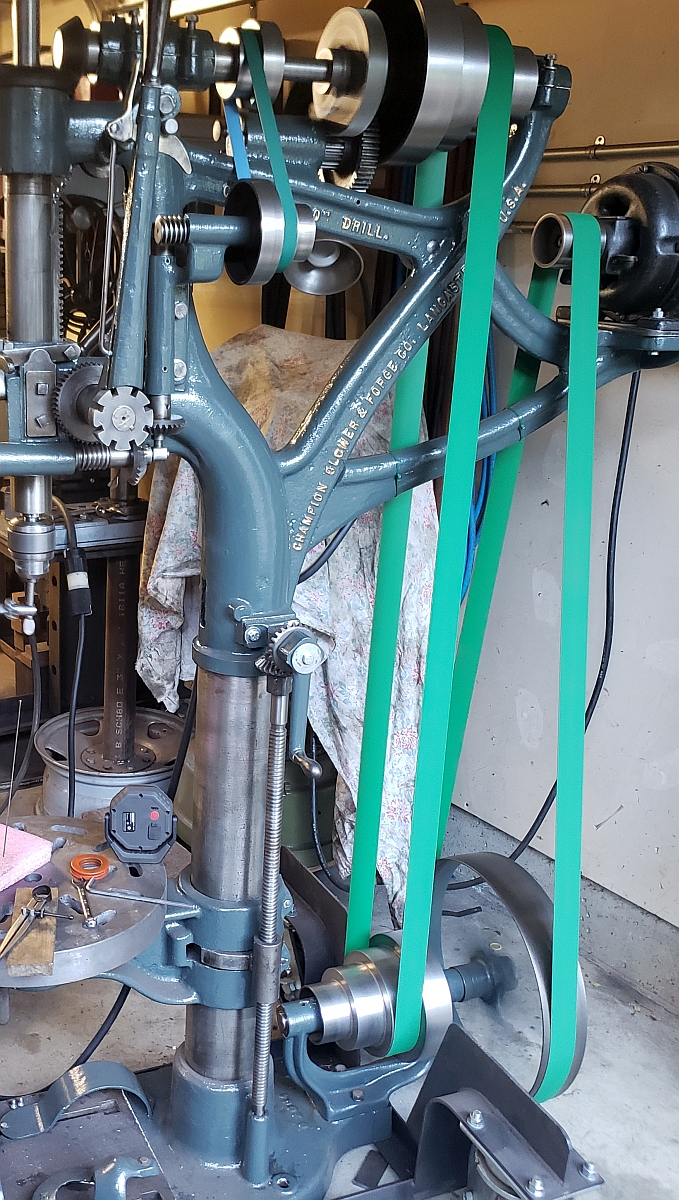
I have been working on a 20" Champion camelback type drill press. It has backgear and power downfeed. I got it all together and running but the belts I put on it were not tight enough, so they slipped under load unless the load was very light.
I am not using the traditional laced leather belts. Leather belts may have been cheap once but they are very expensive now. A set of 3 belts in leather for this machine would have cost me nine times what I paid for the machine! Anyway, I chose Habasit belts from Mark Winquist because I saw Mark's videos and it looked like he really knew what he was talking about. I measured around the sheaves to get belt length. I used a 100 foot tape with that skinny super flexible nonstretch tape. I subtracted the correct amount and talked it over with Mark and then I put in the order.
Incidentally, if you are interested in Mark's Habasit belts for a good price, see this video.
The small feed belt was quite a bit too loose. Before I even really checked out the longer 2" green belts, I ordered another feed belt from Mark (known as Winky on youtube). That one was OK but it wouldn't fit on the sheaves for the fastest power downfeed. Sadly, I ordered yet another drive belt. Mark, having by now seen the writing on the wall, sent me 2 more. I got those in hand and then started looking at the main drive belts. There are two. One goes from a motor up on a pedestal down to a big drive sheave on a jackshaft. The other goes from a step sheave on the jackshaft up to another step sheave on the top shaft of the machine.
Those belts like I said above turned out to be too loose. I was able to tighten the motor belt by shimming up the motor 1/4", but there was no easy way to tighten the drive belt. The top shaft wasn't going up, and the bottom shaft wasn't going down. I didn't want to buy yet another belt with no guarantee it would be right either. So I lost momentum on this project and there it sat for a year or two.
This week (as I write this) I decided I was going to bite the bullet and do whatever I had to to get my 2 big green belts tight at the same time. My solution was to tear down the jackshaft assembly and to set up the jackshaft bracket on the mill and mill it down 1/4". That was the big picture. Because I took good notes I was able to disassemble the jackshaft assembly easily. Then I really looked at it. It looked like a complete mother bear of a part to set up on the mill with its bottom up. I'm going to skip ahead and just say I spent nearly 2 whole days trying different setups on the mill. In the end, I clamped the part to an angle plate on the mill table. The round parts the shaft goes through bore on 2 jack screws on the table. Those let me get the bracket's machined foot parallel to the X axis of the table. Above those jack screws I solidly bolted 2 big long parallels to the face plate so they formed one solid long straight face to clamp against. Above those I ran two long 1/2" studs from my clamping set. Those went through the face plate on one side and through a piece of superstrut on the other side. Above those long studs I put a piece of 1" ground round steel wider than the jackshaft bracket. The bracket's sides gradually got wider, so by pushing up on that round bar I could affect the tilt of the bracket and get it level with the Y axis of the mill. I set the round bar up with 2 more jack screws. That was my setup. It was fiddly to put together and get anywhere near close, and it was about as rigid as a wet noodle. To me it looked like a disaster waiting to happen.
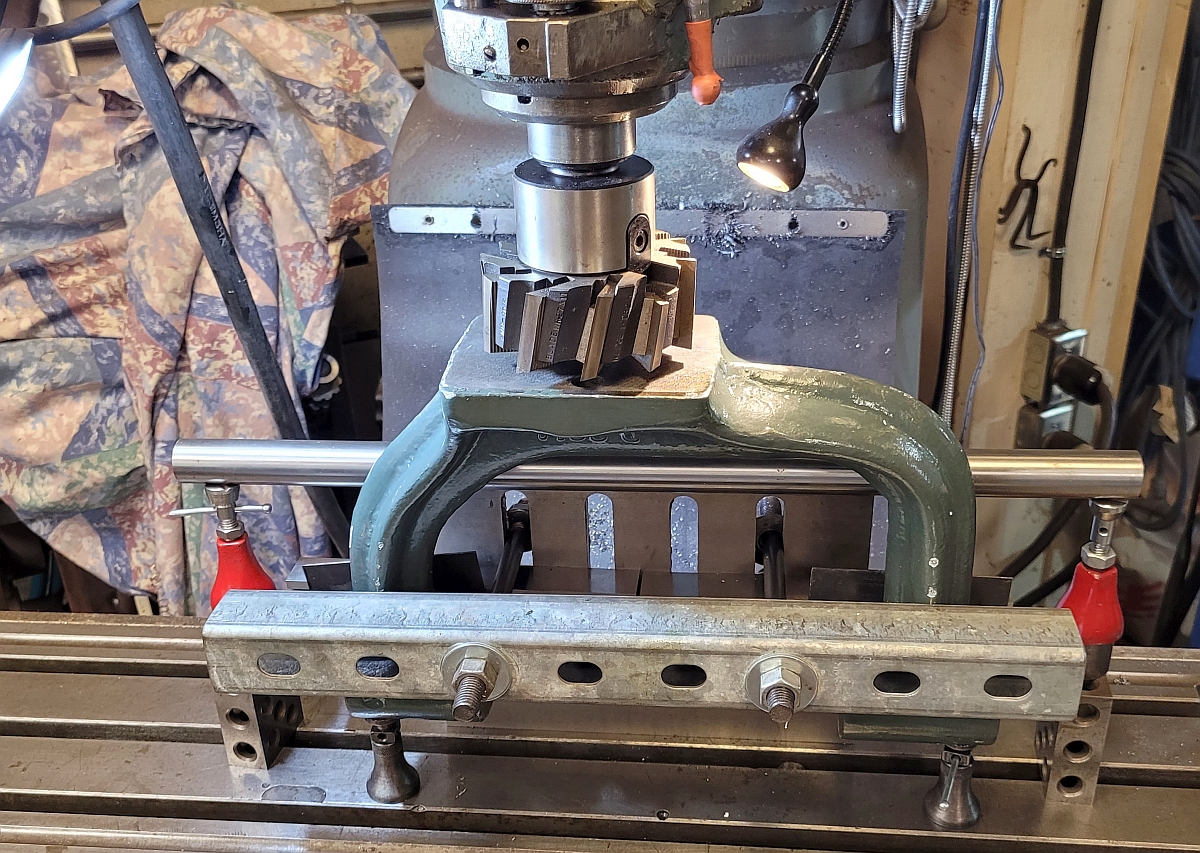
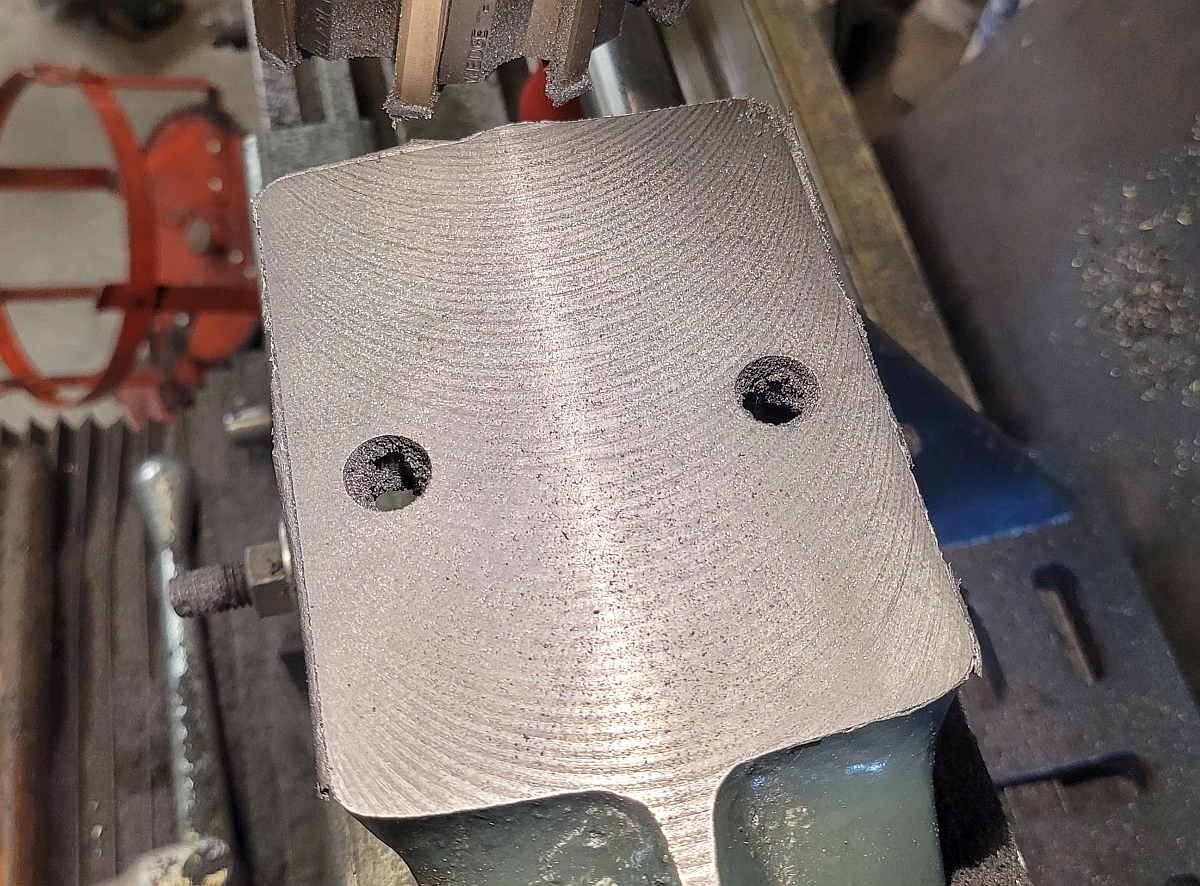
Anyway, eventually I got the bracket's machined foot parallel to the table within a couple of thousandths and I tightened everything up as tight as I could and put a 4" face mill with HSS cutters into the spindle and lined it up. The face was just about 4x5" so it was wide enough to flycut in one pass so I never touched the Y axis. I screwed up my courage, set the mill on its lowest speed, and tried a pass with ten thou depth of cut. To my enormous relief the part didn't move. But it chattered fairly badly. I reset two of the jack screws and with those solidly supporting the part it helped with the chatter but it did not go away. The only way I was able to make it stop was to use cutting oil. We've all been taught to machine cast iron dry, but somehow the oil damped the oscillations just that tiny little bit and it calmed down. I discovered it cut better moving the table right to left, so that's the only way I cut. I never did dare to try a deeper cut, so I took a quarter inch off that part in 25 passes each ten thousandths of an inch. Amazingly, not only did I not destroy my precious and completely irreplaceable jackshaft bracket, I got a pretty nice flycut finish!
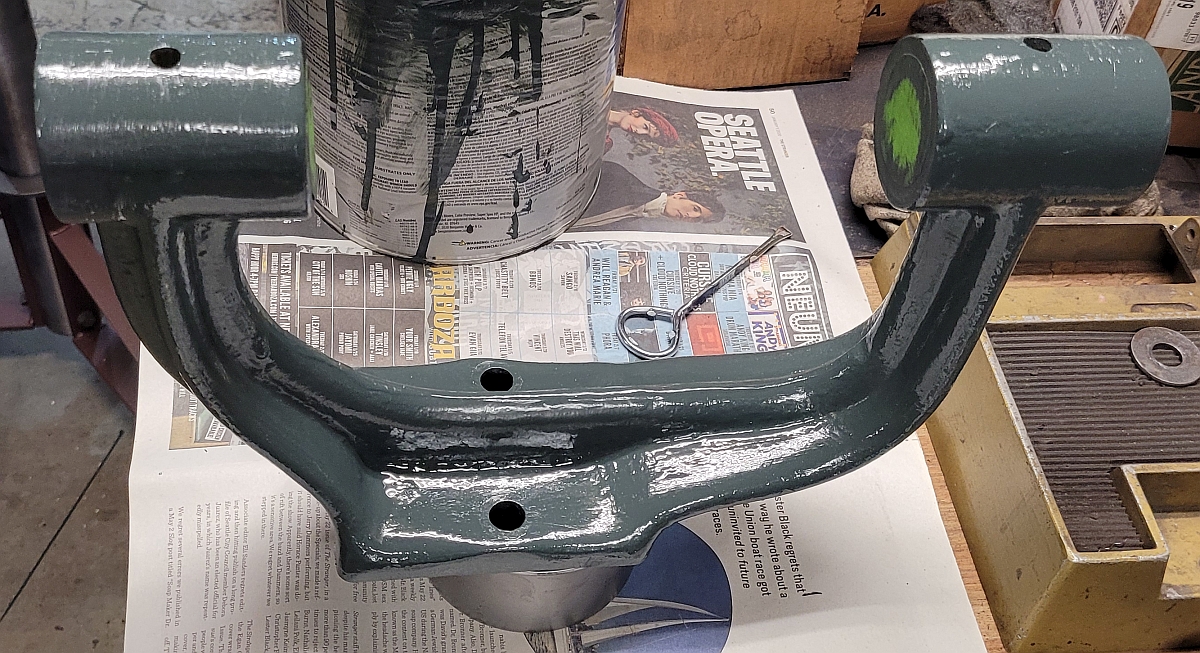
All that clamping didn't do the pretty dark green paint any good, so of course I had to do some light sanding, masking and another coat of paint. I'll let it dry for a week or so and then put the machine back together (removing the shims from under the motor) and if all goes well both belts should be nice and tight and the machine should be able to take cuts as deep as it was designed to.
I'm no great shakes at photography so I apologize. It would make sense to take an "after" picture after it's all back together, but it will look just like the before picture because in a picture you can't tell how tight the belts are.
If the drive belt is too tight after this jackshaft modification, I can shim up the jackshaft. To independently tighten the motor belt I could shim the motor up.
If I had it all to do over again I'd have measured the belt while the jackshaft was shimmed up with 3 shims each 1/8" thick. That way I could remove shims as needed to tighten the belt. These old flat belt machines with no belt tensioning designed into the machine are a real pain. If you are faced with a similar situation I strongly recommend pre-shimming before you measure and order your belts.
Thanks for reading!