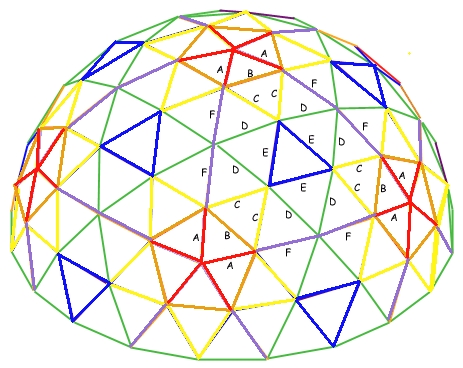
One of our kids is into music festivals and crazy costumes and started going to Burning Man. He joined a camp and after the first year he went he told me he wanted to make a geodesic desert dome to set up at Burning Man. He had done his homework and knew that he wanted to build it from 1" EMT, that is, steel conduit. Now, the cool thing about the Internet is that people publish smart things all the time. One thing that is very well understood is the design of geodesic domes. His camp had decided they wanted to make a 4V type dome and they wanted it to have a 13 foot base radius. The online calculator took those as inputs and gave back the lengths for each of six groups of parts. Apparently everyone uses the same nomenclature and names the six groups A, B, C, D, E and F. All parts in any group are identical but two parts from different groups will always be the same length. Here is an actual graphic downloaded from the dome calculator.
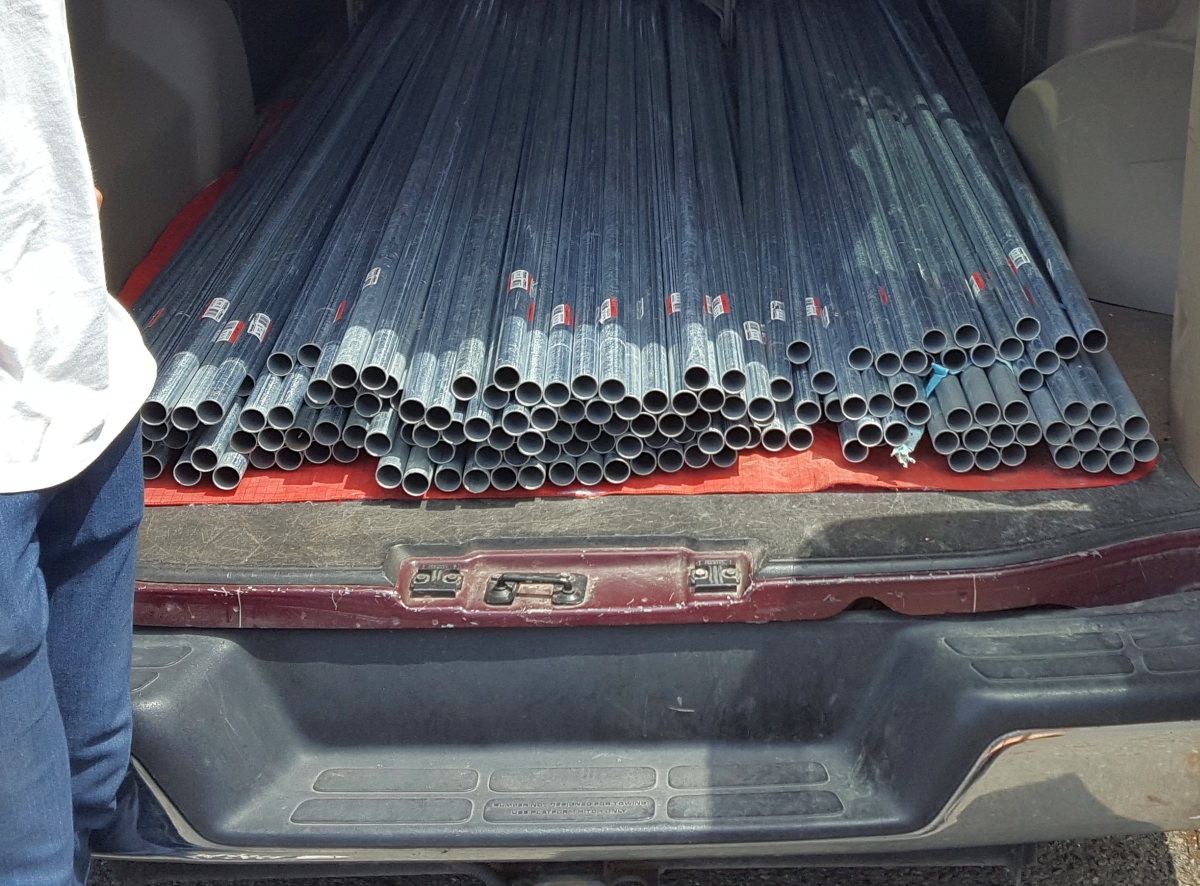
The online dome calculator calculates ideal lengths between intersection points. In the real world, the relevant length is the distance between two holes, one at each end. I did a little pencil work and figured we would need 120 ten foot lengths of 1" EMT. Here is a shot of the EMT tubes still in the van the day we bought them.
The dome calculator estimates the weight of the dome (half dome, really) as 631 pounds. The estimated price in 2026 dollars is $1749. They even estimate the dining capacity as 52 people. OK, back to the shop project.
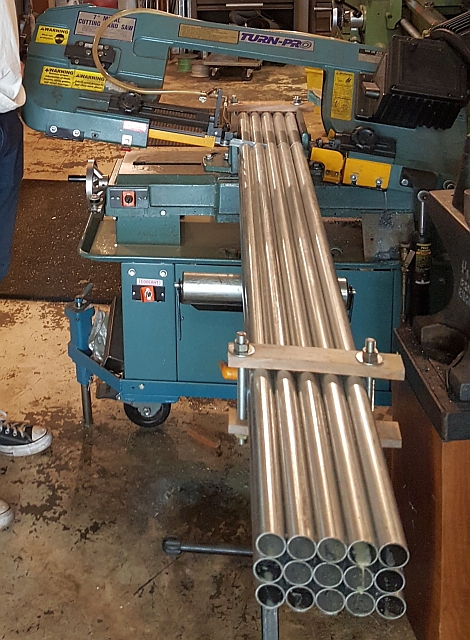
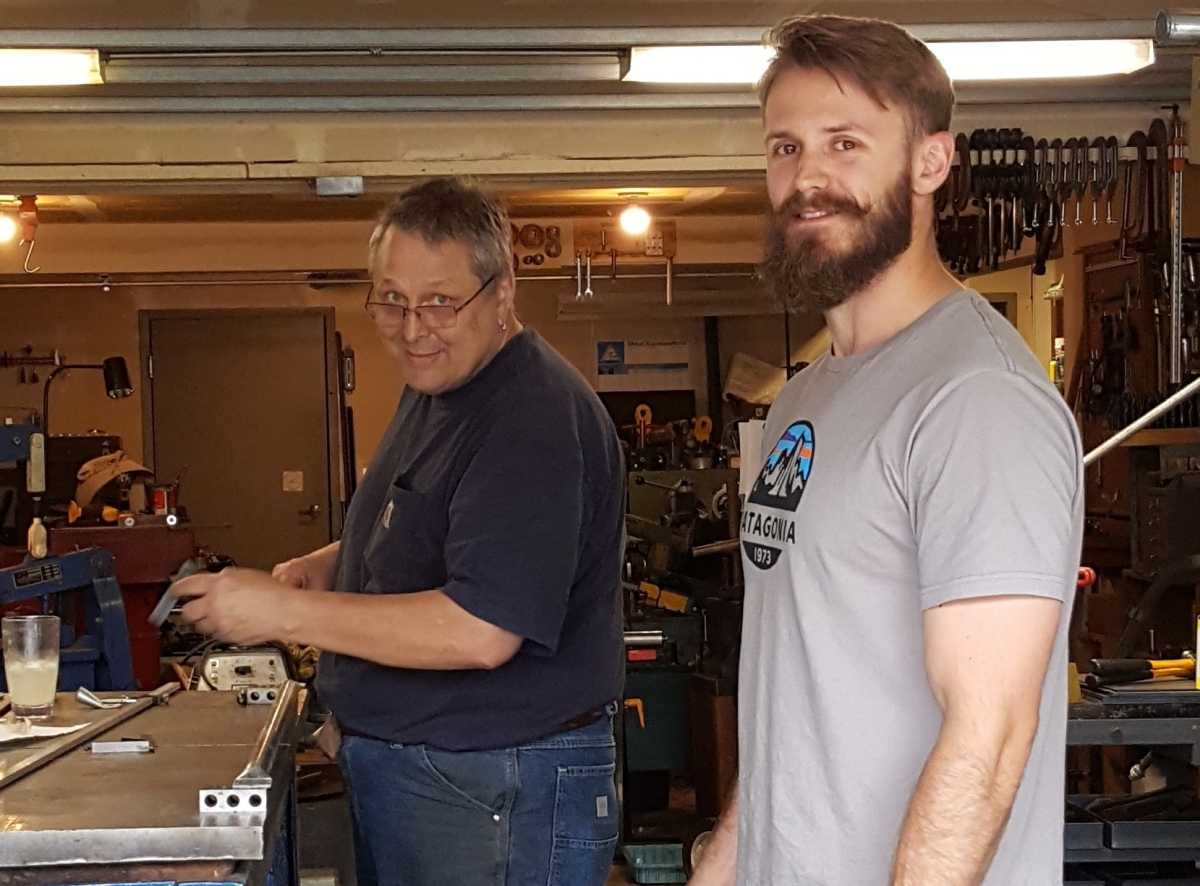
We were faced with the problem of going from ideal lengths to the thousandth of an inch to something we could saw up on my horizontal band saw. Anyway, we added 1-1/2" to the ideal lengths to allow 3/4" to extend beyond each hole. We also rounded the ideal lengths to the nearest sixteenth of an inch. To facilitate cutting multiple parts all the same length I made up some simple clamps so that we could saw more than one part at a time.
After we cut all the parts for a given length, we'd go over them and remove any price tags that didn't get cut off. We scraped off the paper, then used Goof-Off or something similar to remove the residue. Then we wiped off any remaining saw coolant fluid and blew the inside of the parts out with compressed air. Next they got a super quick lick on the belt sander to get the worst of the burrs off. Finally, we'd mark each part's weld. We used a sharpie and put a short (1/4") mark on the weld at one end. Let me go into marking the welds a little more.
Sometimes it can be hard to see the welds. You have to look on the inside. If you aren't 100% certain you are seeing the weld correctly, you can scrub the inside of the end out with a "toothbrush" type wire brush. If that doesn't work, try turning it around and look at the other end. If that doesn't work, take it out in the bright sunshine and try again. It is imperative that the welds are marked before the ends are flattened, because if the weld is too close to the crease, it will split and you'll have to weld it up and sand it smooth, or remake the piece.
After marking the welds for the whole batch, we stacked them carefully on a pair of sawhorses right by the arbor press. Each sawhorse was fitted with 3 Vise-Grip 11R clamps spaced apart just to allow 8 parts between them. All the parts are stacked on one side at first, and as they were flattened and taken through the next set of steps, they were moved to the other side. We were mostly working with batches of 30 parts, so we put 8 for the lowest row, then 7, 6, 5 and 4. (That equals 30!) That way it always looked neat even halfway through a batch, plus we could always tell how far there was had to go. And no parts fell on the floor.
The next big procedure was flattening all the ends in the arbor press. We used a hardened steel 1-2-3 block placed so its front edge aligned with the ram of the arbor press. Behind the block we had a stop set up. A part's length away I set a rolling stock support set so its top exactly aligned with the table of the press in both angle and height. We'd just stick an end under the ram, align the weld at something like 45 degrees, push it in until it hit the stop, set the other end on the stock stand, pull the ram a few times until the end was flat, then turn it around to do the other end. The stock support automatically aligned the flattened ends. Take a part off the undone pile, flatten the ends, put it onto the done pile. It's easy if you have a big compound ratcheting arbor press. Any other way would have been very slow indeed.

After this procedure all the parts have flattened ends. Next it was time to put in the holes. One more aside which I found out that I didn't see anywhere on the web - when you flatten the ends, a part gets shorter! Mine were pretty consistently 1/8" shorter after flattening. So I set a small combination square so its blade stuck out 11/16". I set another small square so that its blade stuck out exactly half the width of a flattened end. My procedure for making a hole isn't drilling. I prefer to punch holes whenever possible, as it's much faster and much less fiddly. If you look at the business end of an ironworker punch, you will see a small pointed tit. This will pick up a punched center point very accurately. So the problem of accurately spacing the holes boils down to making two center punch marks exactly the right distance apart.
We set up a pair of rectangular blocks on my flat welding table to do the layout work. The blocks were separated so that we could set one ear on each block. (Incidentally, this is where you find out if your flattened ends are parallel or not. A few rocked a little, but most just sat dead flat.) We drew lines with a sharpened carpenter's pencil down the center of each ear. Then we drew a little line 11/16" from one end. A sharp prick punch was used to punch a hole right where the two lines crossed. The next step was to lay out another punch mark just the right distance from the first one. This isn't all that easy to do. Here is how we went about it.
I got out an inexpensive six foot aluminum measuring stick. Very carefully, using an optical center punch, I made a punch mark exactly on the 1" mark, about 1/8" from an edge. Then I got out my best set of trammels and a special 60" long aluminum beam. I double-checked the length from my printed out Excel spreadsheet, then set one of the trammel points into the 1" punched hole on the measuring stick. I mentally added 1" to the length Excel gave me, and set the other trammel point as closely as I could to that length. Now the two points were within a few thousandths of an inch to the exact number needed. Once the trammel points were set, I didn't change the setting until I was all finished marking out the whole group of parts. To actually mark the other end, I put one point in my first center punch mark, then drew a little arc all the way at the other end of the part. Where it intersected the penciled centerline, I made the other punch mark. Note that even if we cut the part to a slightly wrong length, the holes would still be separated by the right distance. Same if I made a small error marking out the first hole punch location, or even if I misaligned the first punch mark slightly. The accuracy is preserved between the two holes regardless.
Let's think for a minute about where any error would be introduced. First, Excel rounded the ideal number to the nearest sixteenth of an inch. That could introduce up to 1/32" of error. Second, I'd estimate the accuracy of the trammel point setting to be within .010". Third, even if we draw the arc perfectly, I might make a mistake of up to .010" while punching the second mark. These all add up to less than a sixteenth of an inch worst case error. Probably close enough.
Anyway, that is the procedure for doing the hole layout, hopefully accurately. I didn't really know if it was accurate enough until we did a mock assembly of the dome. I marked out the whole group of parts before I moved on to the next step.
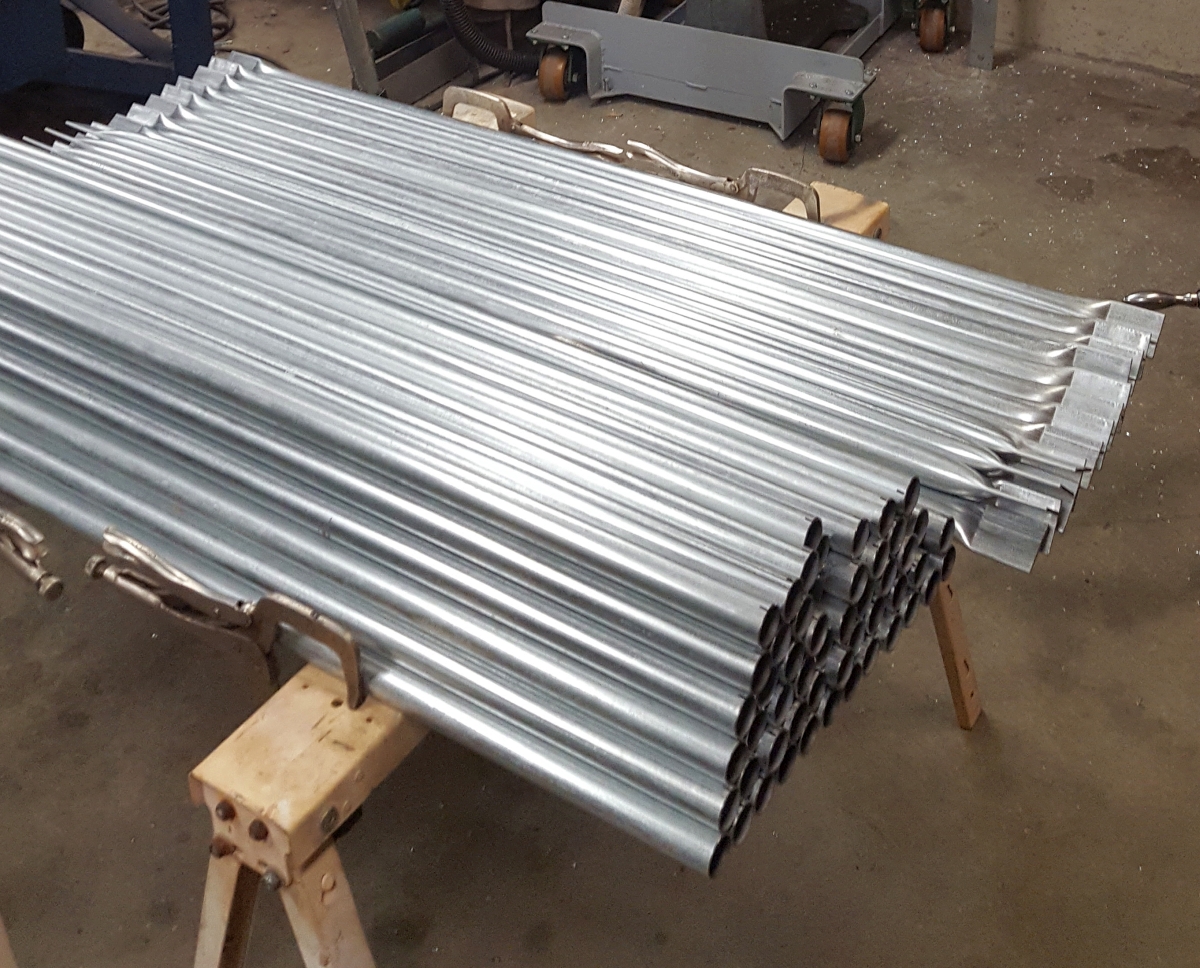
I had previously installed a 3/8" punch in my little ironworker. Because of the topology of the flattened ends, some distortion of the flat ends was introduced by punching. But the punching itself was easy and went fast. You feel with a part end until you could feel the punch mark slip over the tit on the punch. Holding it there, we'd step on the pedal and a second or so later, we had a nice 3/8" hole. As I mentioned earlier, punching the holes bent the ends a bit, so the next step was to the anvil where a few taps with a hammer re-flattened the ends easily. Next, it went to the belt sander where we'd sand both ends of each part. We added a radius to each corner, and made the ends smooth so nobody would get cut by catching their skin on some ragged corner. Once the sanding was finished, we used a sharpie to label the part with its batch letter (one of A, B, C, D, E or F) and set it aside for later processing. These steps were repeated for each part in the group.
The next step was to bend the flattened "ears" by 9 degrees. Every end. To do this rapidly, accurately, and the same every time, I set up a Hossfeld bender to do the bending. It took awhile to get it set up, but once done, we could bend both ears on a part at the rate of two parts a minute. And all the bends looked just the same. Incidentally, you might well wonder where the 9 degree angle came from. If two parts each have their ears bent 9 degrees and are then bolted together, the parts sit 18 degrees from each other. Since there are 20 parts around the circumference of the base, that comes out to 360 degrees.
Sadly, I do not have photographs of the flattening, bending or punching steps. Suffice it to say we cut each part so that the holes were as close to the ideal length apart as we could.
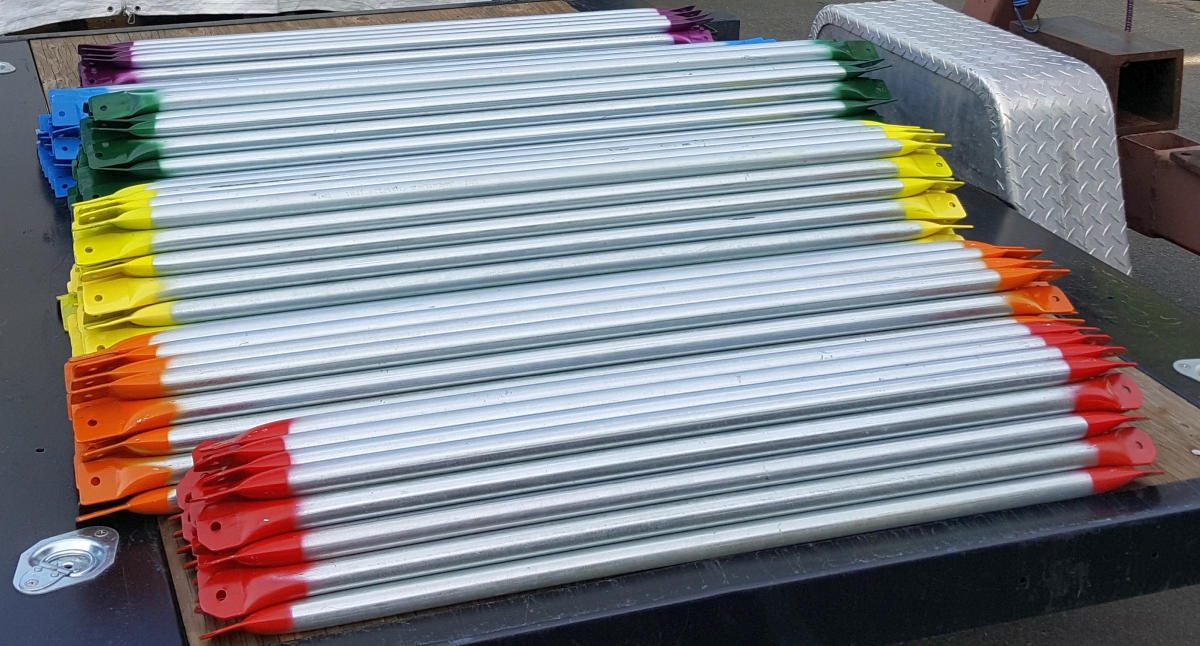
The next step was painting. Since the drawing used in erection (shown above) shows the different lengths in different colors, I tried to match those colors. I'm not going to go into a bunch of detail other than to say I just painted the ends of the parts.
I chose the first six colors of the rainbow for my color scheme. I'm sure you recall that the colors of the rainbow make the acronym ROYGBIV, short for red orange yellow green blue indigo violet. I had all of these colors (ignoring violet since I only needed six colors) except indigo. I bought a can of "aubergine" (eggplant) color figuring it's sort of purple and thus might look a bit like indigo. I didn't do a fussy masking job. I set up a pair of sawhorses and layed out 30 struts to have the ends painted. I keep old aluminum license plates to do quick and dirty paint masking and this job being quick and dirty, I just taped them together. I left 3 or 4" uncovered at an end and just sprayed color on the end, approximately masked by the license plates. Then I moved my "mask" to the other end and painted that end. After 15 minutes or so, I'd carefully turn each part over, then repeat the process to get the other side of the ends. Then I let the parts sit in full sun for an hour or two. After that, they were plenty dry enough to touch, so I removed the parts from the sawhorses and left them in a pile on a tarp to fully cure for a day or two.
By this time we'd put in a considerable amount of work without knowing if we'd gotten the hole pitches right. I decided to connect just the very top bit of the dome as a sanity check to make sure things were OK. (They were!) You can compare the parts assembled in the photo to the diagram at the top of this page.
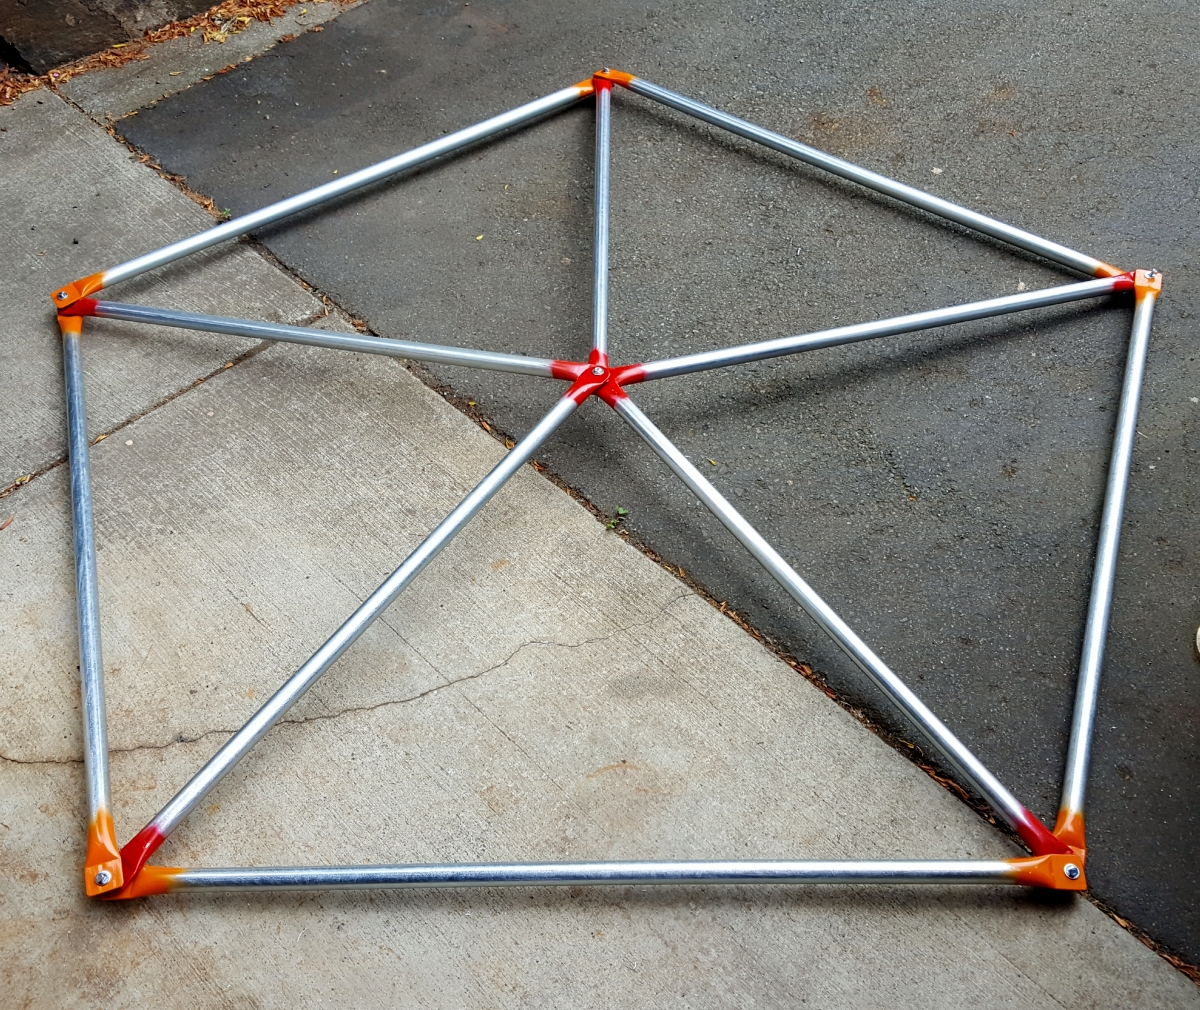
Feeling a bit more confident, we packaged the whole package of parts up for transport to a local park so the kids from the camp could set it up for the first time. (Naturally, they called it a "Mock Erection".)
![]()
Putting up the dome in the park was loads of fun. Here is a shot of the erected geodesic dome with me and my son Colin in the foreground.
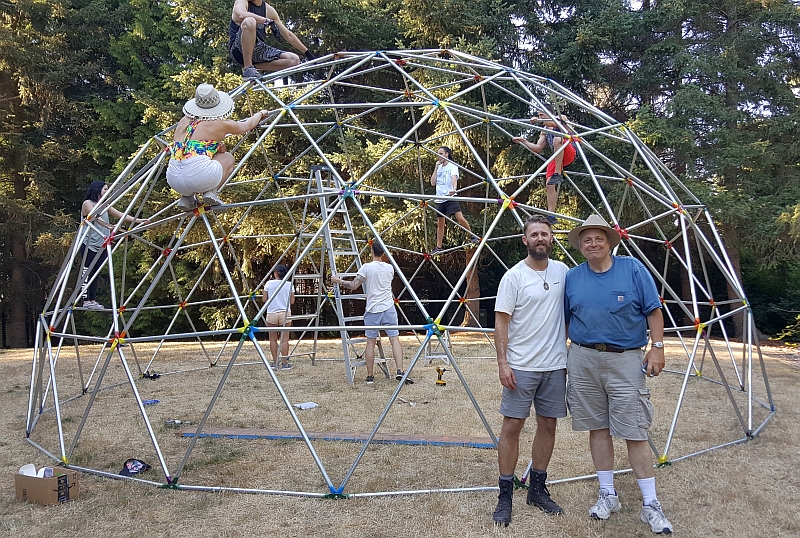
The dome was very successful. The camp team made a clever cover for it which allowed triangles to be open or closed as the desert temperature varied. The dome doesn't belong to me or to Colin - it belongs to the camp. I have not laid eyes on it in years now. I know that many more artistic or fanciful pieces have been made for Burning Man, but this is my little contribution. The members of the camp shown in the photo have gone to the four winds but the camp continues. Somewhere under someone's porch all bundled up is the geodesic dome Colin and I built. We laughed a lot and had a ball making it. What a fun project!
Thanks for reading!