I really like to punch holes rather than drill them. It is faster while still giving a neat and clean result. I own several punches and have owned a few more. They all do a good job, but they all have the same limitation: it takes a long time to change from one punch size to another. In the early part of the 20th century some really smart person invented a turret punch, which has the capability to very quickly and easily move from one size to another. I have been interested in one of these and kind of looking for one, so when one became available near me for a good price I jumped on it. I enjoy restoring machine tools anyway, so for me it was a win/win.
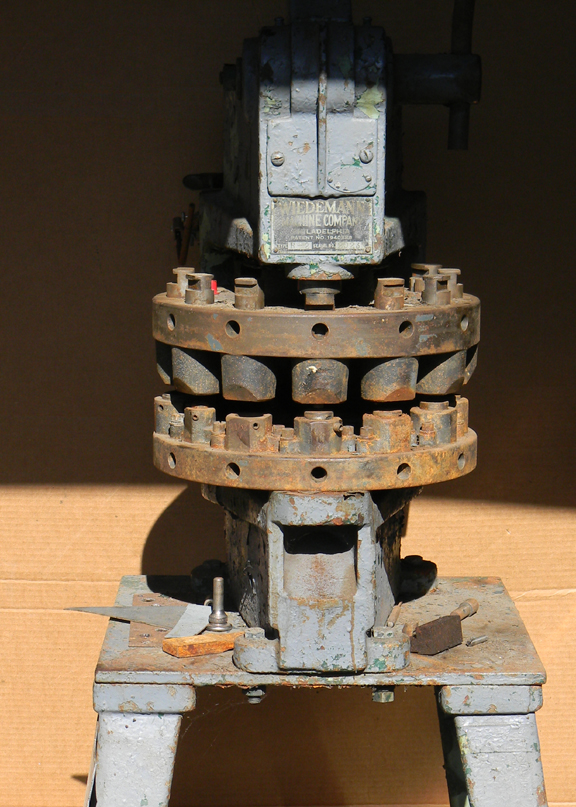
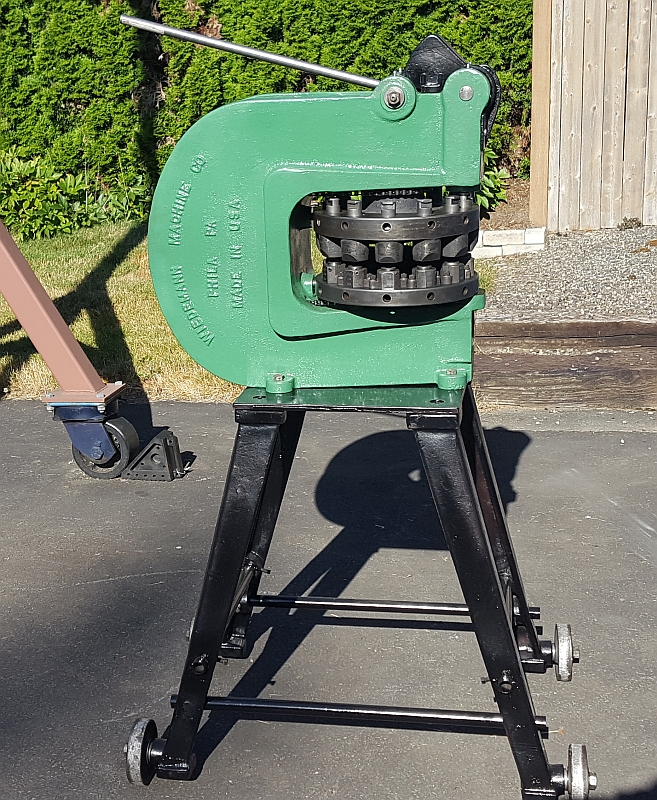
The image above shows the machine still on site at the seller's shop. I am going to show you some of the steps I took in restoring the machine. I did a complete teardown and restore which involved a lot of rust removal, paint removal, replacing some tooling and painting. Without further ado, here is what the machine looked like after I finished:
Besides showing the machine restoration, I will spend a little time talking about some of the things I discovered about this machine. These may be of interest to you if you have a similar machine.
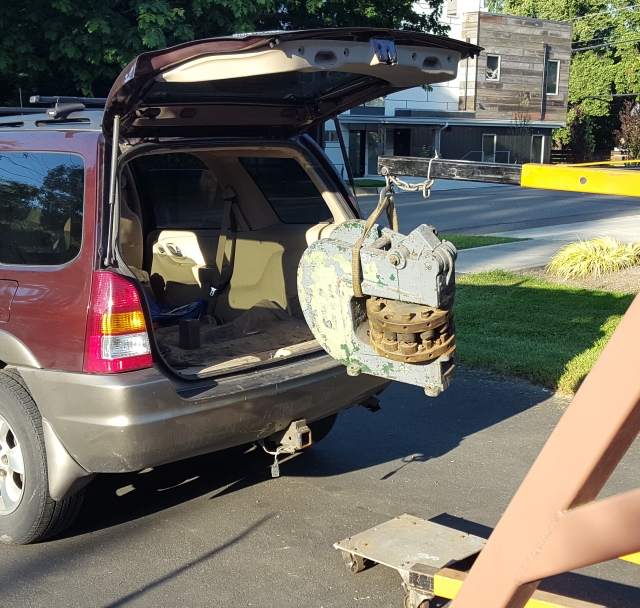
Let's get started on the steps it takes to bring one of these old machines home and get it reconditioned. Here I'm unloading the machine (sans base) from my little SUV, which has seen more industrial use like this than its designers intended. I was surprised at how heavy this thing was! Along the way I'll weigh it in various stages.
After I put the main machine body on the dolly in the image above, I rolled it in to my shop and picked it up with my shop crane put it on the bench and started taking things apart. I removed all the die holders and dies and punch holders and punches from the machine. They were filthy and rusty! I put them into a stainless pot:
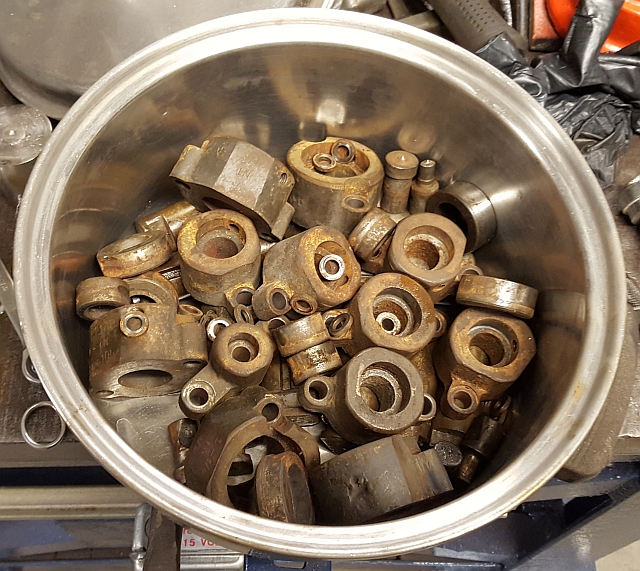
The next step is adding a strong solution of dishwashing detergent.
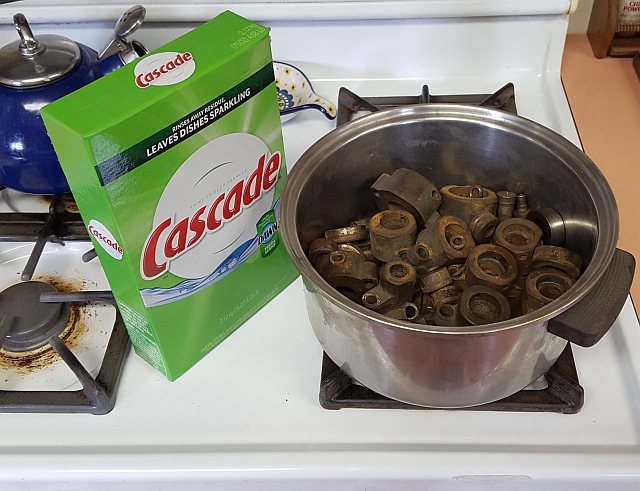
Next (of course) I add water and heat the solution. Look how dirty the water turned!

Rinsing in hot water and drying completed the degreasing step. Next came derusting. I soaked the punch tooling in a commercial solution called "Metal Rescue" which works a lot like "Evapo-Rust" which is a lot more common. I don't have a picture just of the derusted tooling, but keep your shirt on, more is coming.
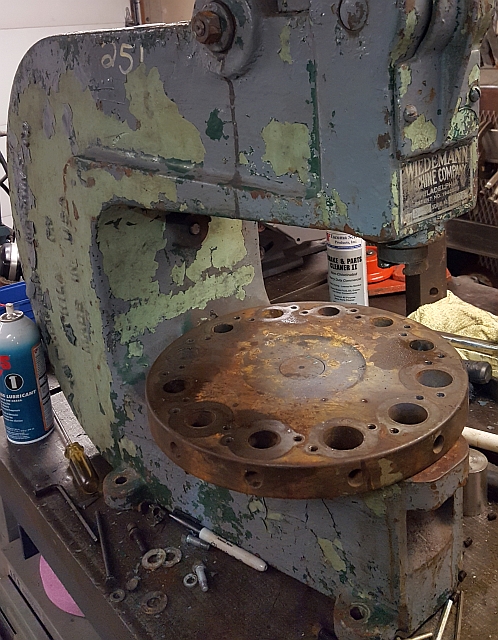
The next step was removing the platens (which is what I call the round disks that hold the punches and dies). Here is the machine with the upper platen removed:
I did a degreasing step similar to that shown above and then put the upper platen through an electrolytic derusting treatment. Here is the result, shown from below (the sprocket is attached to the upper side):
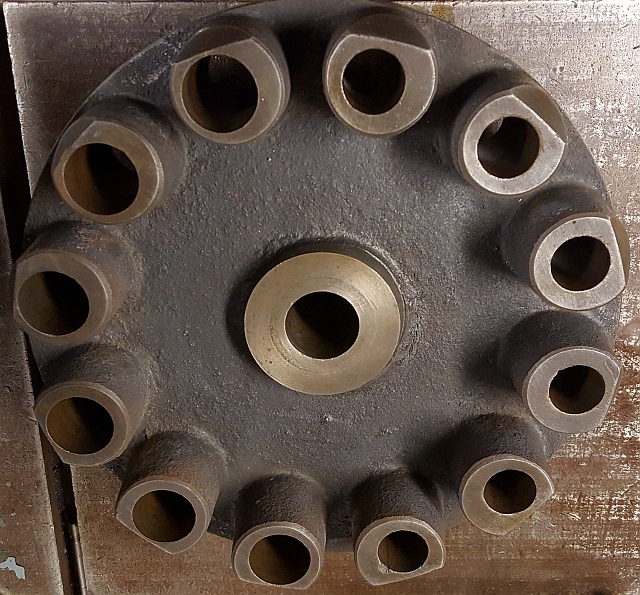
It doesn't look newly machined, but it's plenty good enough for the girls I run with! Next I removed the lower platen, leaving the machine looking a lot emptier:
The next step was removing absolutely everything else, leaving just the main casting of the machine. I was impressed with how stoutly built it was. Quite a lump of cast iron! I decided to weigh the casting by itself before cleaning:
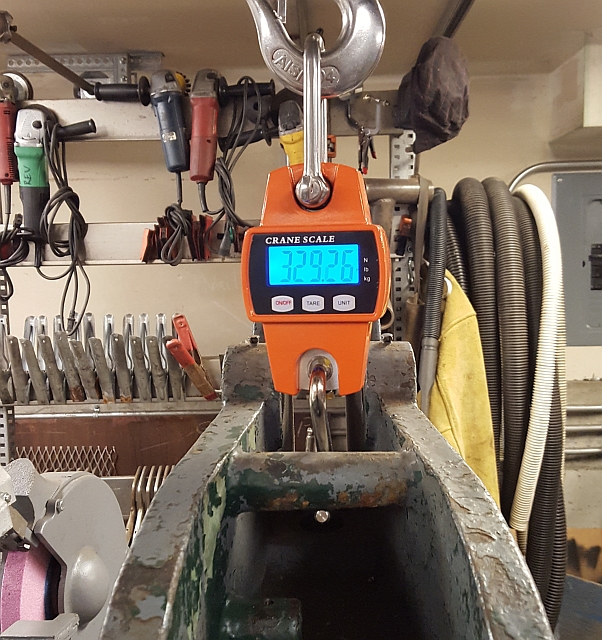
My little Chinese scale worked great. The next step, of course, was cleaning this big old piece. It had the remains of at least three coats of paint, applied more or less skilfully. The punch body didn't fit into any of the tubs and pots I soak things in, even a Rubbermaid cattle trough. So I skipped degreasing it and decided to remove the paint mechanically. After thinking, I hit upon using a needle gun. It worked very well to remove paint quickly. This is what it looked like after just a few minutes:
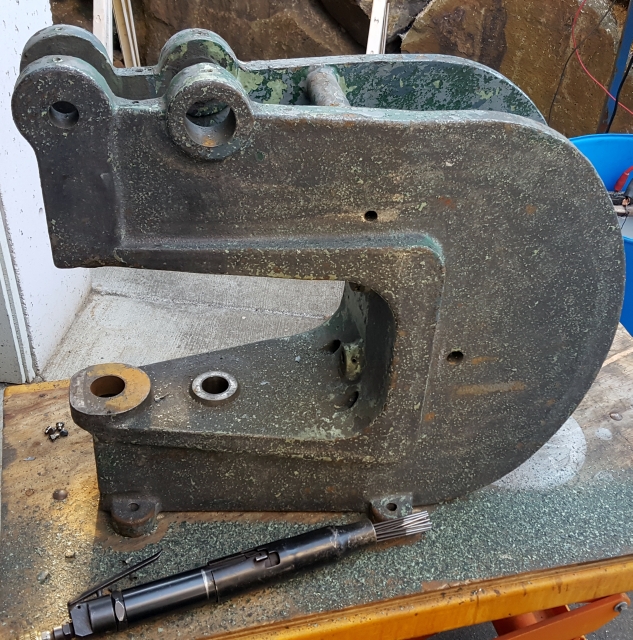
And here are two shots of the casting all clean:


Just for fun I weighed the casting after cleaning:
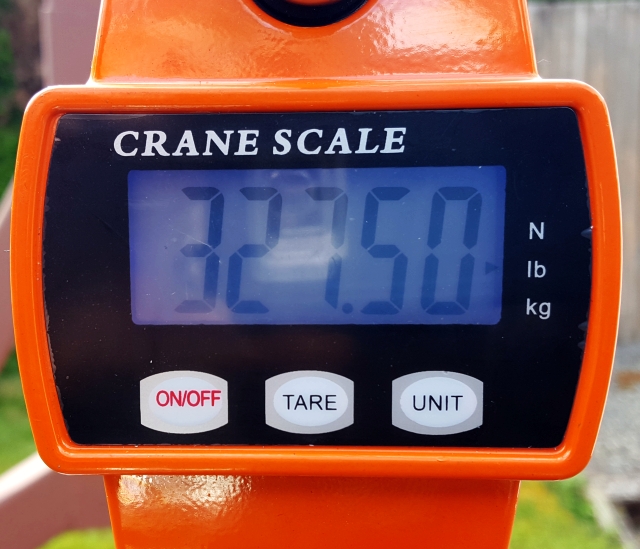
If you believe this little scale, this part had nearly two pounds of paint, dirt and rust removed!
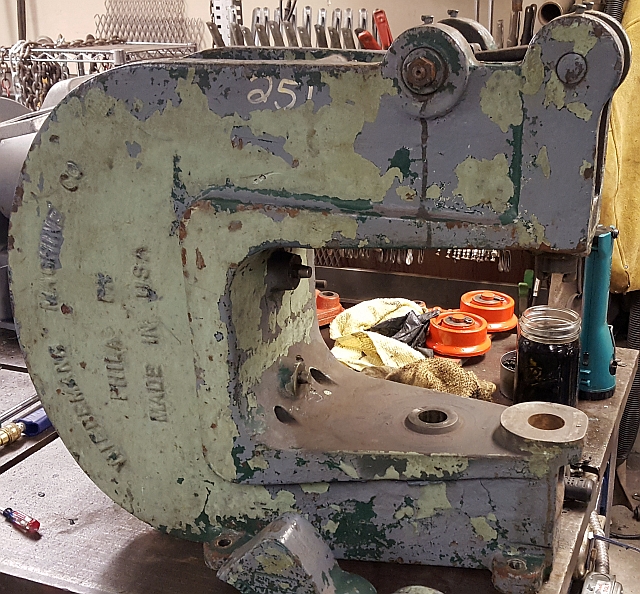
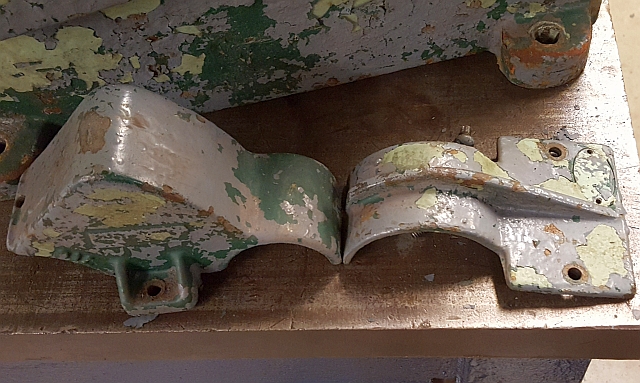
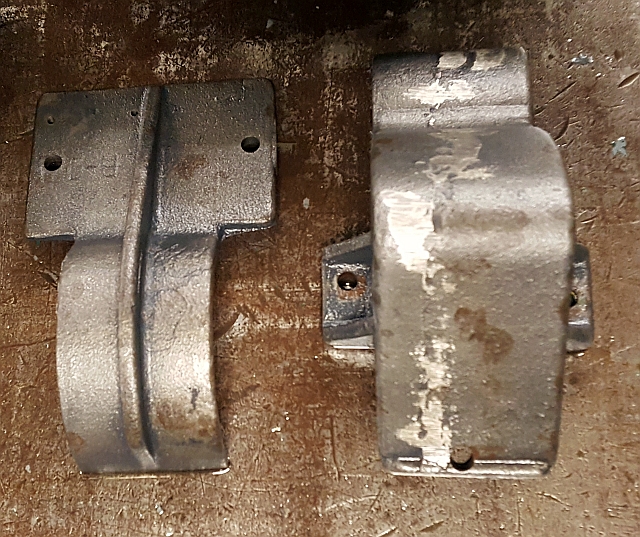
With the platens and main punch body casting cleaned up, I next moved to the pair of castings that cover the ram assembly. They just needed a quick boil in dishwashing detergent to remove all the old paint and grease. The next two shots show them before and after cleaning.
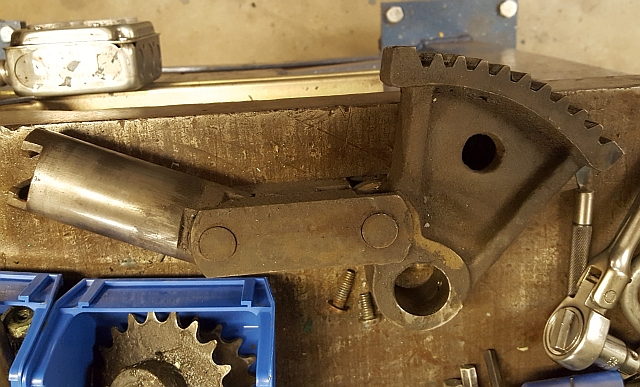
The ram parts themselves were almost the only parts on the machine that didn't need any work except a trip through the parts washer:
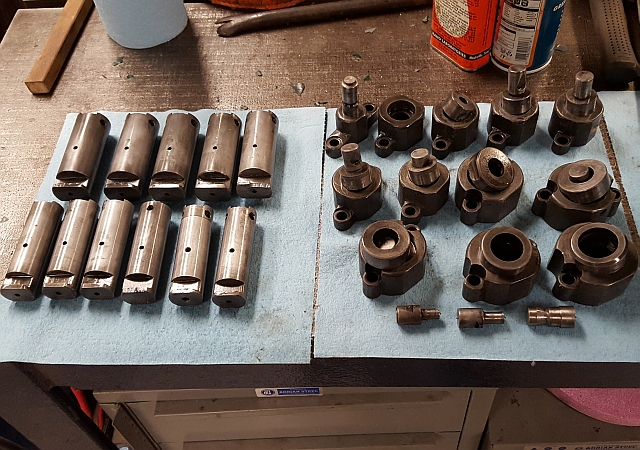
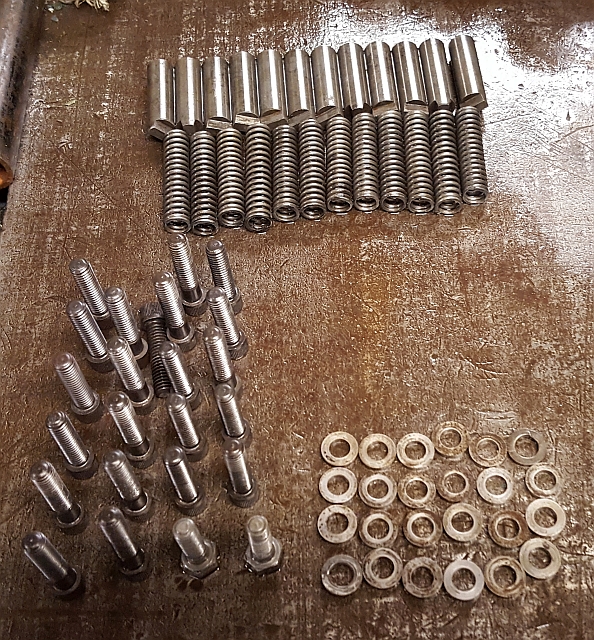
Before, I promised more on the punch tooling. I showed it above in a pot on my stove being degreased. Afterwards, everything got derusted and oiled:
I don't seem to have taken any pictures of the parts from the back end of the machine as they were removed and cleaned. You'll see those later, installed.
With the punch parts clean, I moved on to the rolling base. I found this base to be quite unusual by today's standards. The legs and wheels are iron castings. The top is a piece of steel plate with countersunk holes.
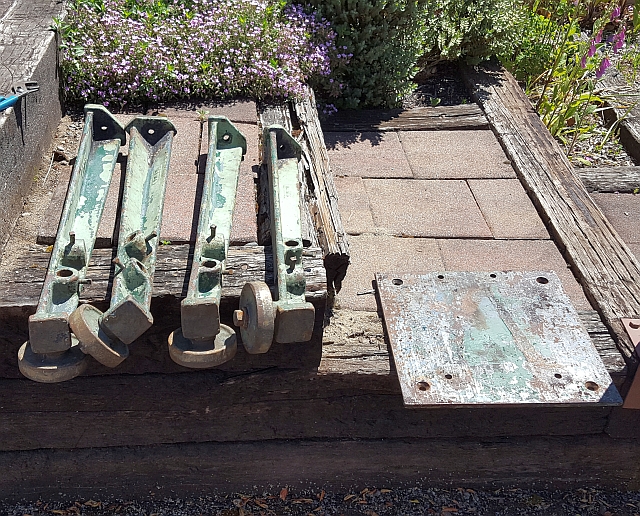
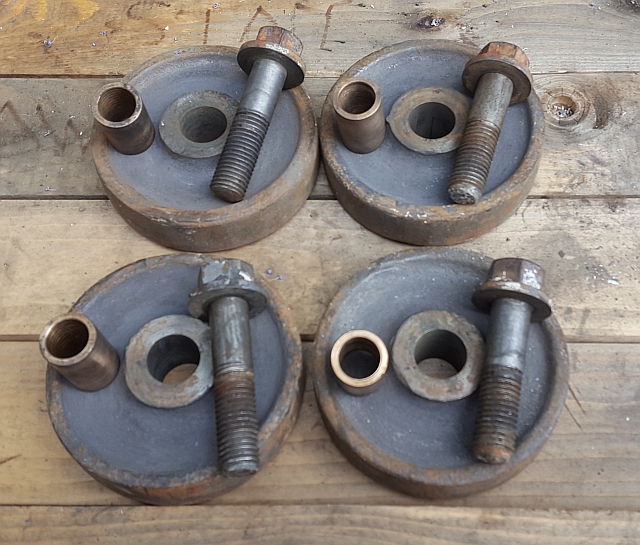
This is what the wheel assemblies looked like. The sleeve is some kind of bronze.
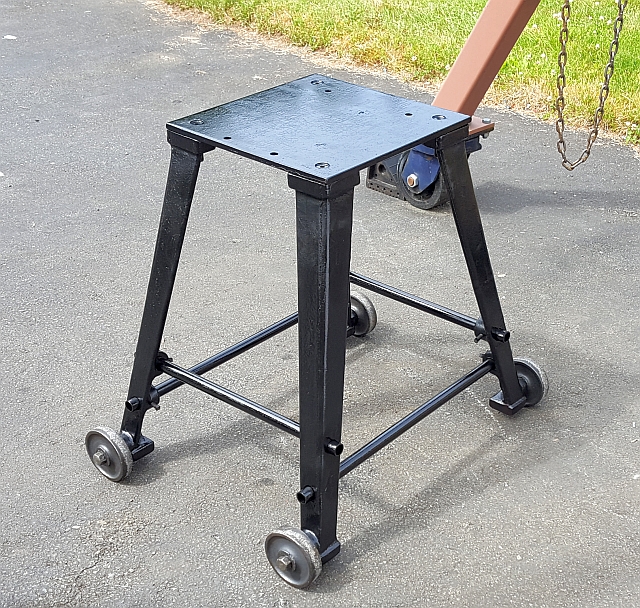
I used the needle gun again to remove paint. It worked amazingly well, especially on the inside corner features of the legs where other mechanical means of paint removal don't work well (ignoring sandblasting which is too messy for this job). Anyway, I painted it and assembled the rolling base. The bars securing the legs at the bottom are just 3/4" pipe.
I painted the main punch body casting and started reassembling. I chose Rustoleum's Machine Green for the body. I'd used that paint before and liked it. The black is just for contrast. Here's a shot of the machine complete:
Some final notes: I did order one die and four punches from C.E. Tooling in Las Vegas. They still can source the tooling for this machine although it is a bit spendy. I replaced the missing and damaged punch holders from the junkbox of a local sheet metal machine dealer. I didn't do any derusting to the chains, but several of the links were frozen so I soaked the chains in kerosene for about a week, working the sticky parts occasionally and returning the chains to the solution. Since I finished this machine it has proved to be a good addition to my shop. It is very useful.
This completes the restoration piece about this turret punch. I do plan to write another little web page showing what I have been able to figure out about how to use the machine, as well as some assembly tricks I learned along the way. But for now, that's it. Thanks for looking!