Mountaineer Creek Bridge Project
June 2014
I spent a week camping in the mountains near Leavenworth with a group of Washington Trails Association volunteers and helped build a temporary log bridge
that will get people across a river while the old, rotten bridge is torn down and rebuilt.
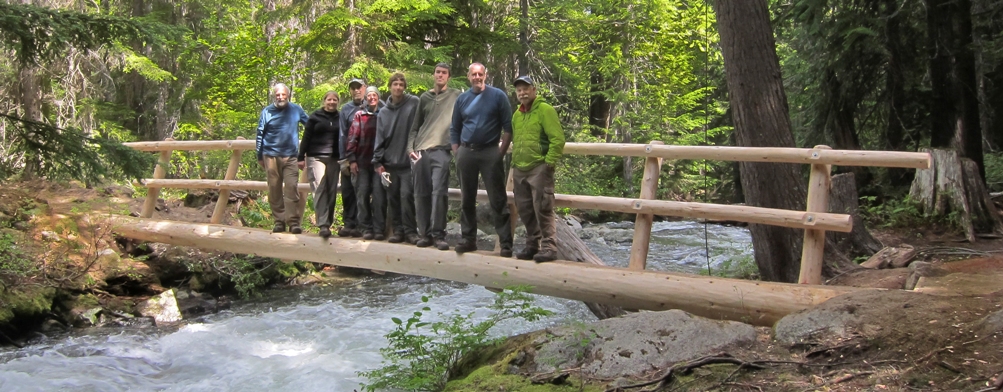
This is the bridge we built over Mountaineer Creek! [Photo credit Joe Hofbeck]
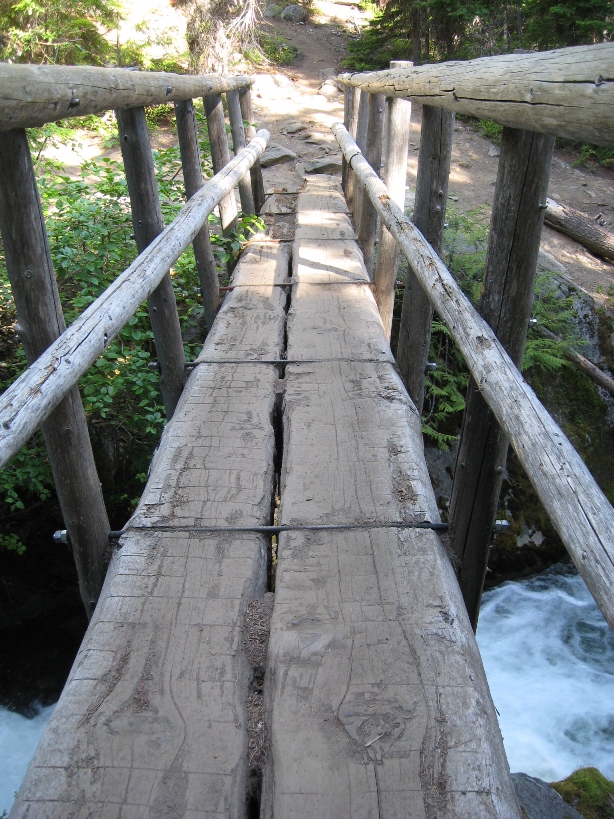
This is the old, rotten bridge that the Forest Service will demolish and rebuild in September. Our temporary bridge will then be removed.
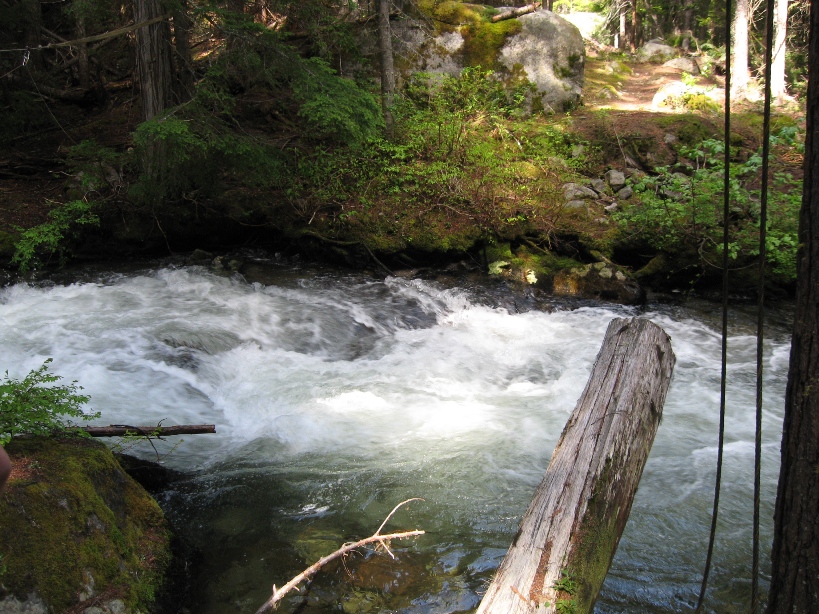
Site of the new, temporary bridge, about 1/4 mile downstream from the old bridge (at the horse ford, 1.5 miles up the Colchuck Lake trail).
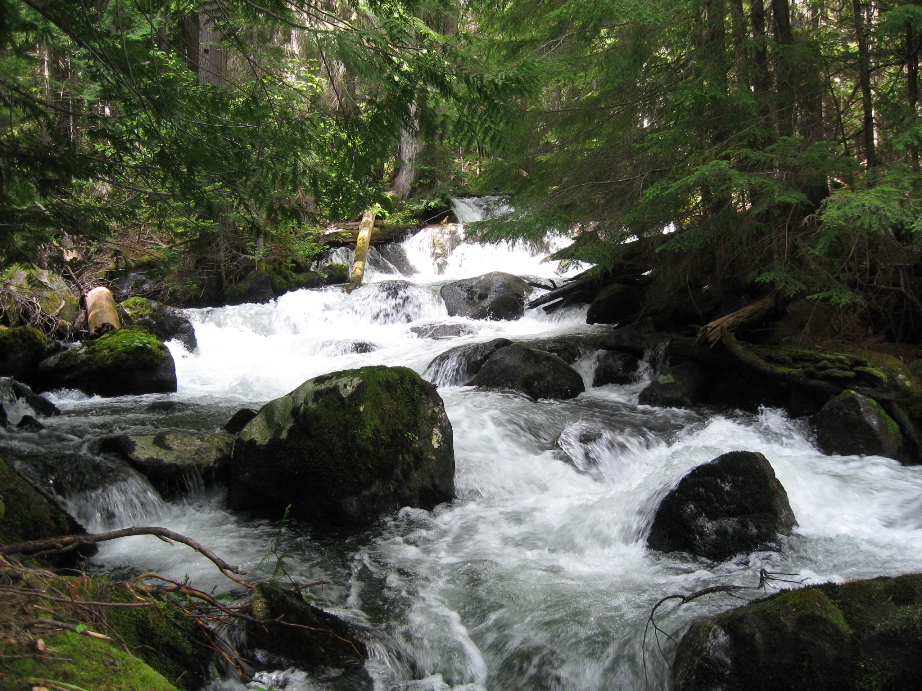
Mountaineer Creek swollen with snow melt
Our Camp
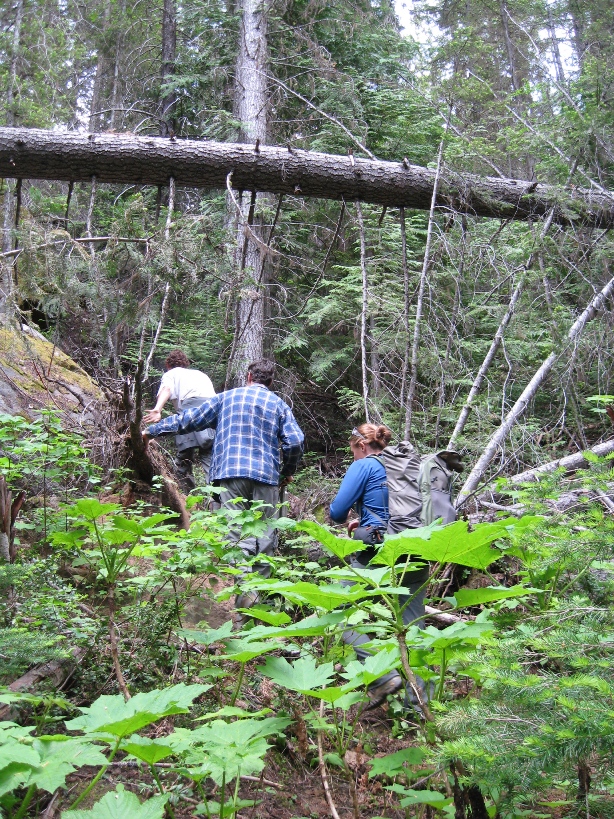
Climbing the steep hill up to our camp on a knoll. Since there are no campsites at this location, we had to pick a spot hidden from the trail and "leave no trace" when we left.

Relaxing in camp after our first day of work.
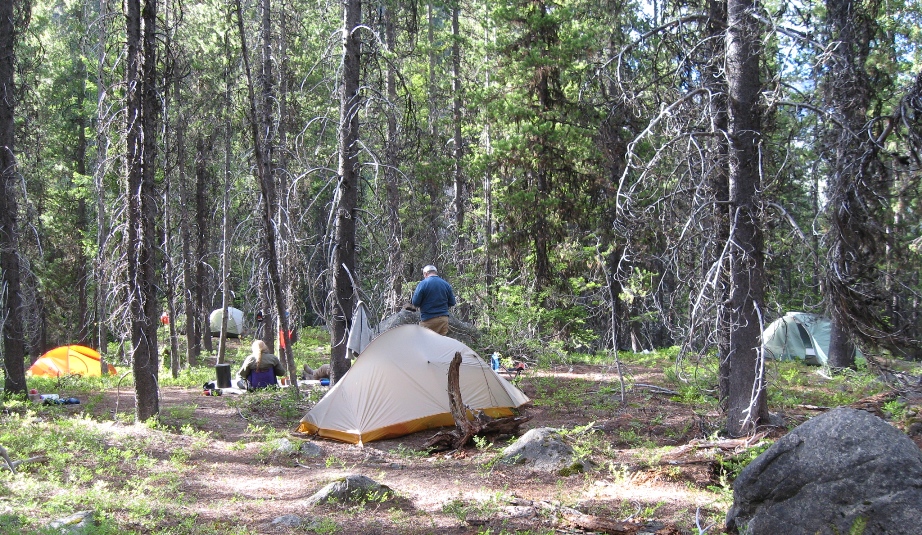
Our camp on a knoll at about 4200 feet elevation. We were serenaded by roaring waterfalls all around us.

My cozy home away from home.
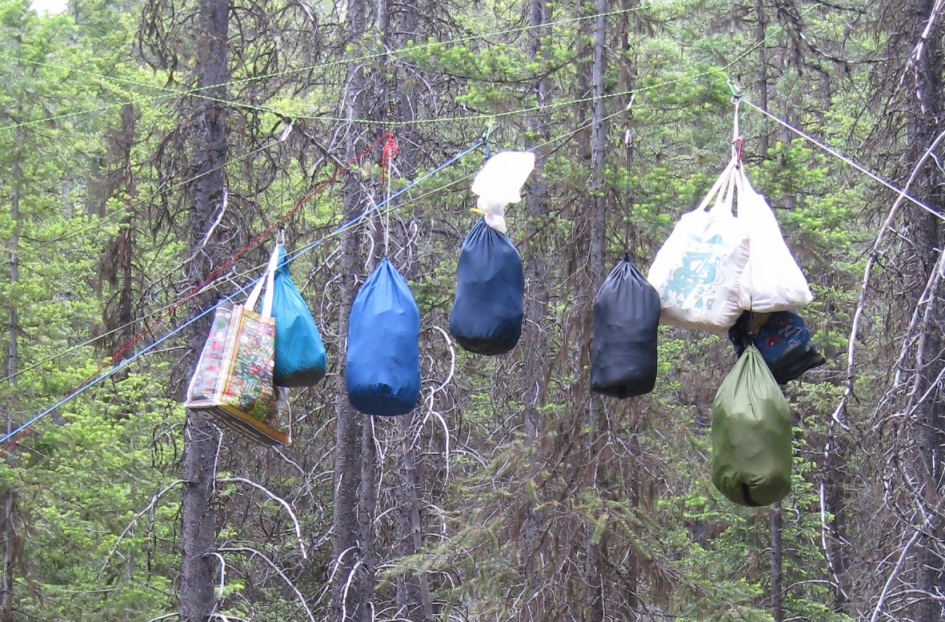
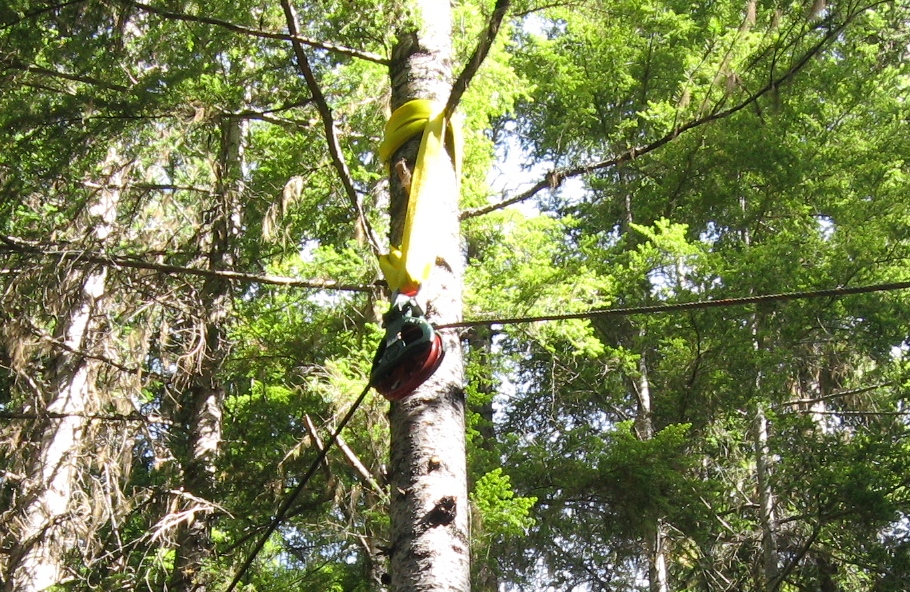
We hung our food to protect it from critters.
How to Build a Log Bridge
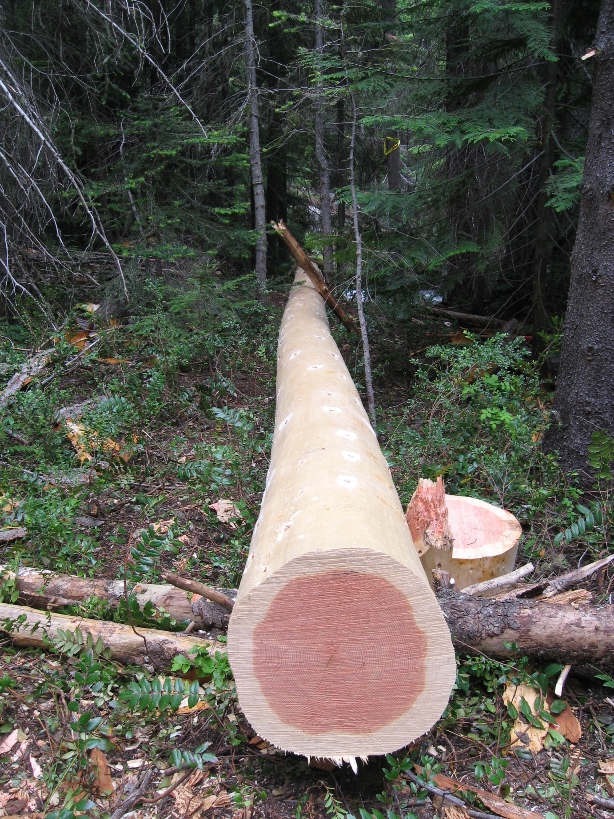
The Forest Service felled and peeled this Douglas Fir before we arrived. Power tools are not allowed in wilderness areas, so they used a crosscut saw to fell the tree.
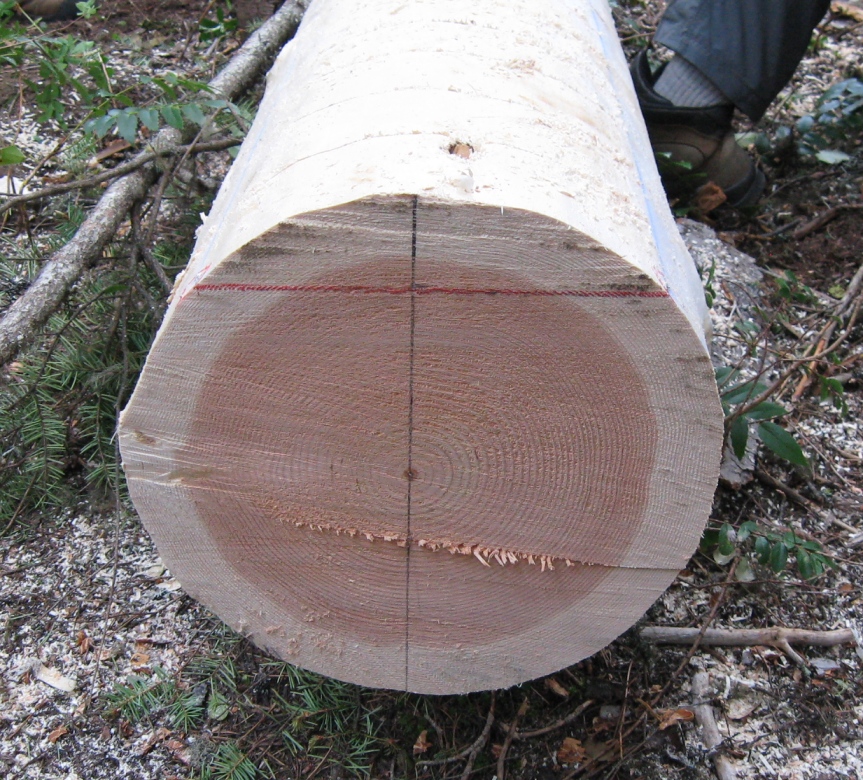
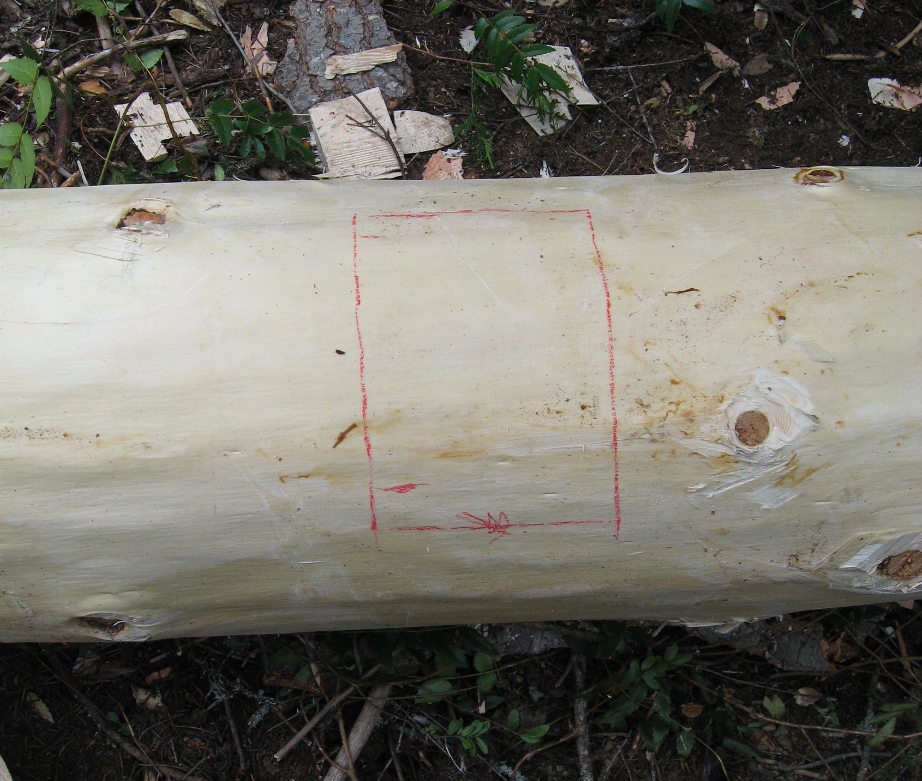
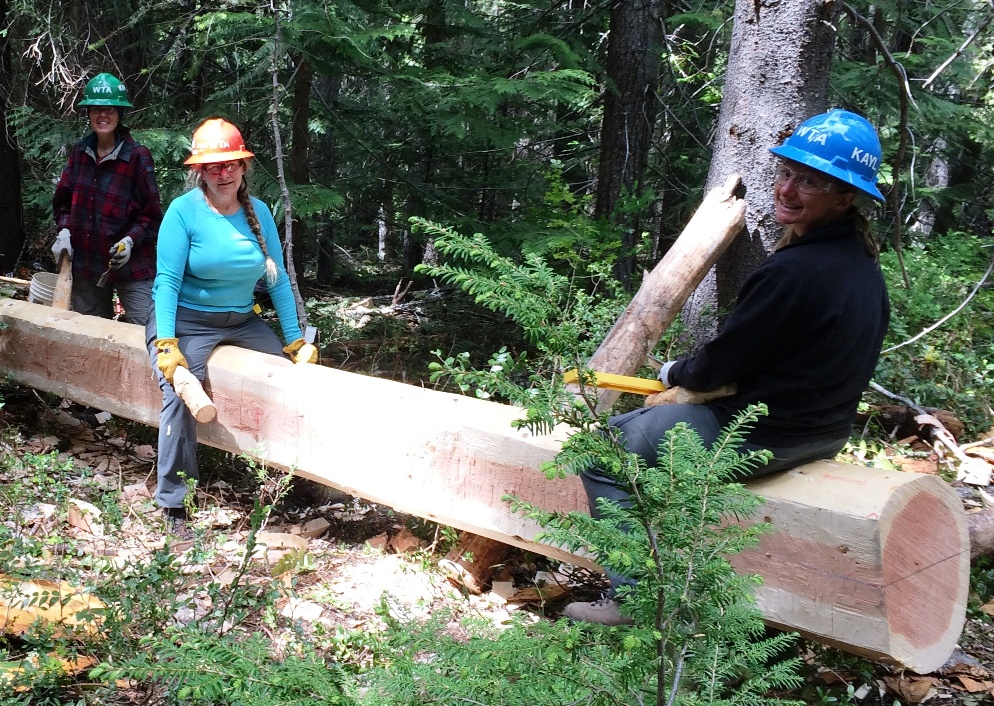
The log is called a stringer. The wood above the red line is removed to make a flat top for walking on. We snapped a chalk line down each side of the log to mark the top of the "tread," or walking surface.
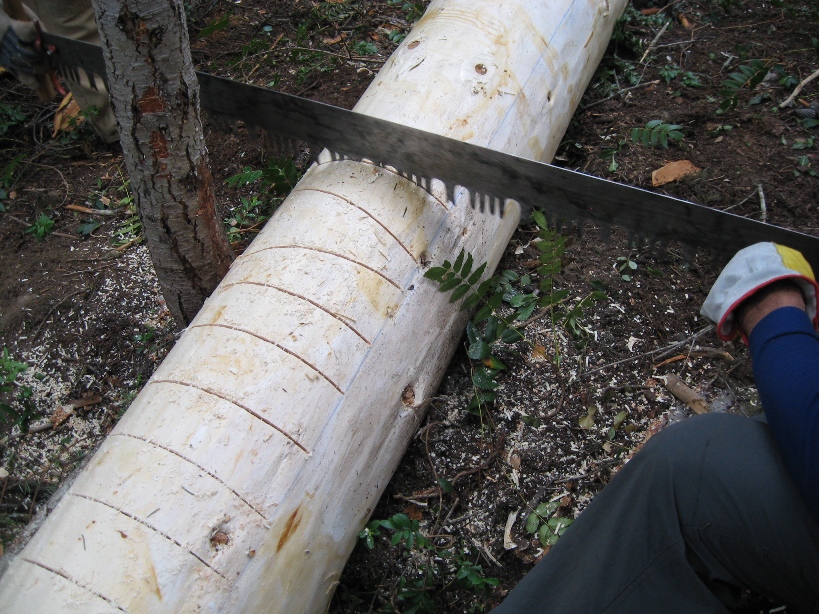
We made multiple cuts down to the chalk line. This makes it easier to chip off the wood.

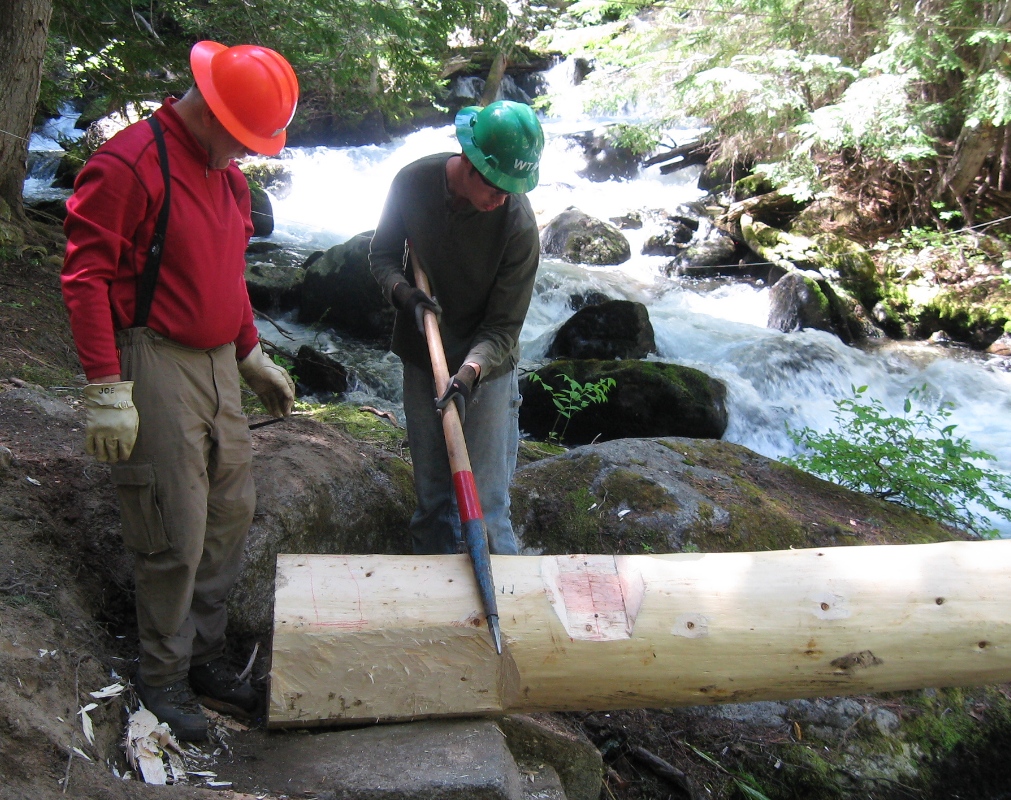
We used axes to chip off, or "hew," the log top.

Hewing the log top.
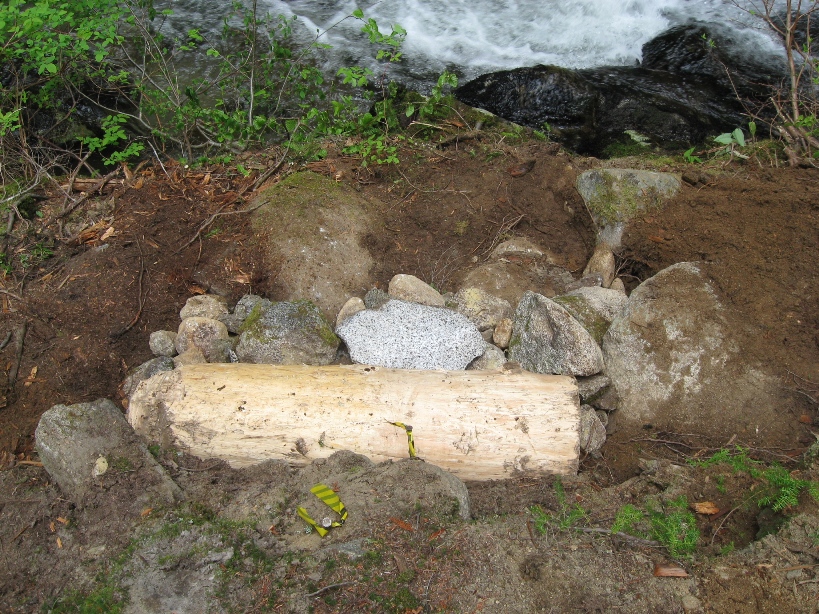
On one side of the river the bridge sits on a log "sill," or platform. (If this were a permanent bridge the sill would be more substantial.)
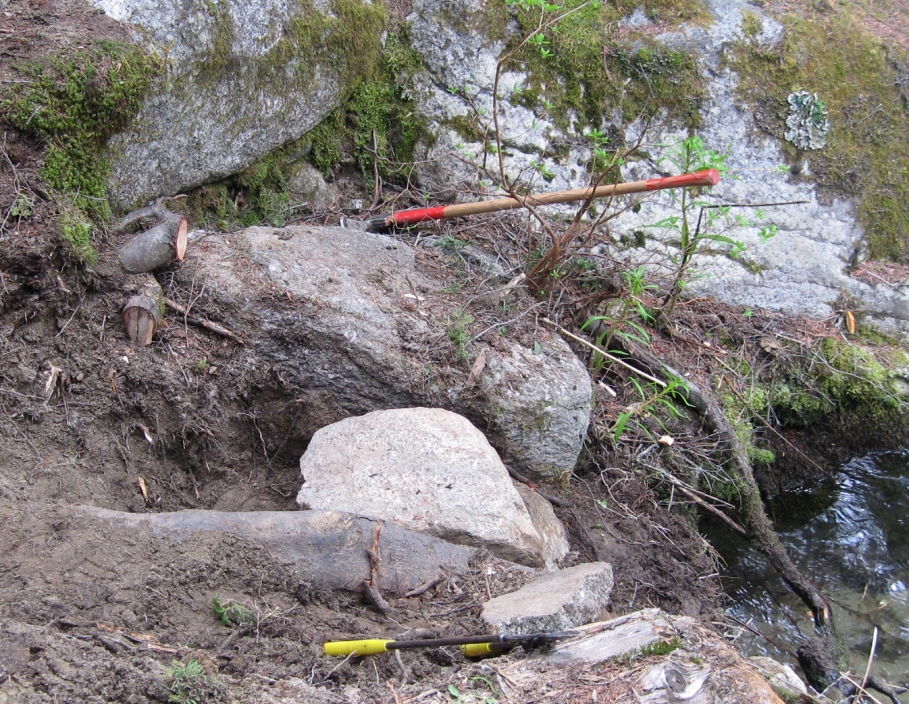
On the other side of the river the bridge sits on this rock sill. Rock vs. wood? Just depends on what's available.
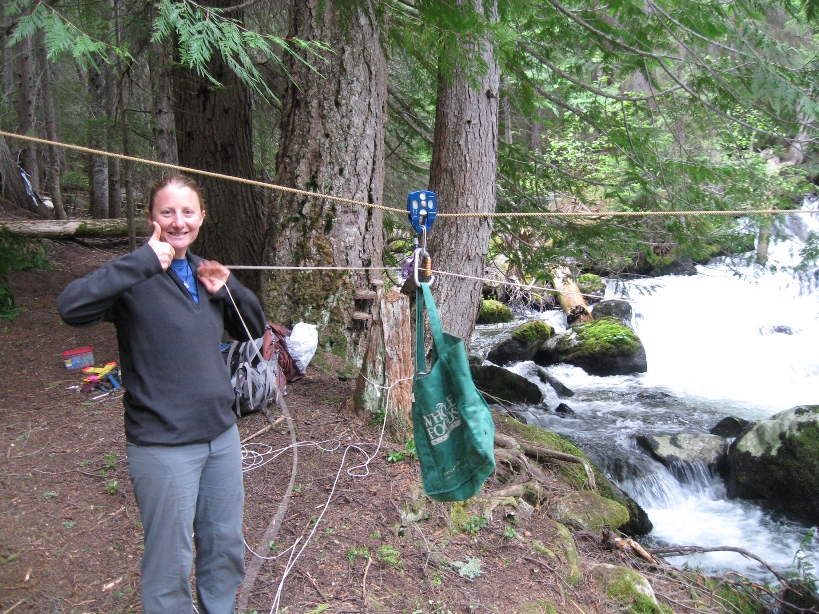
We used a rope and pulley system to send small tools across the river. (People walked the half mile around.)
The bridge posts sit in notches on the side of the stringer. The red markings indicate where to chisel the notches.
Cutting the post notches.
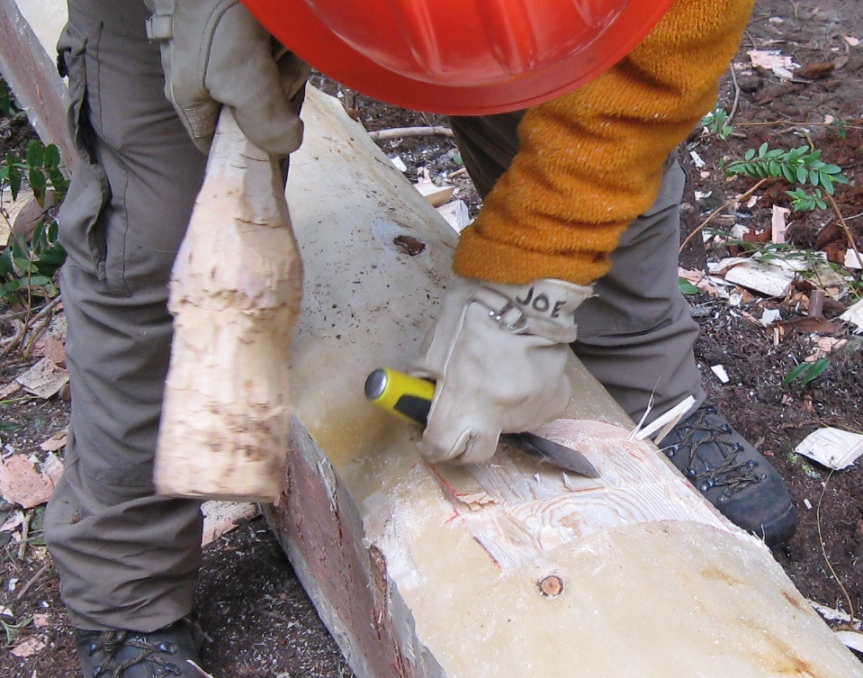
Chiseling out the post notches using a wooden mallet we made onsite.
Chiseling out post notches.
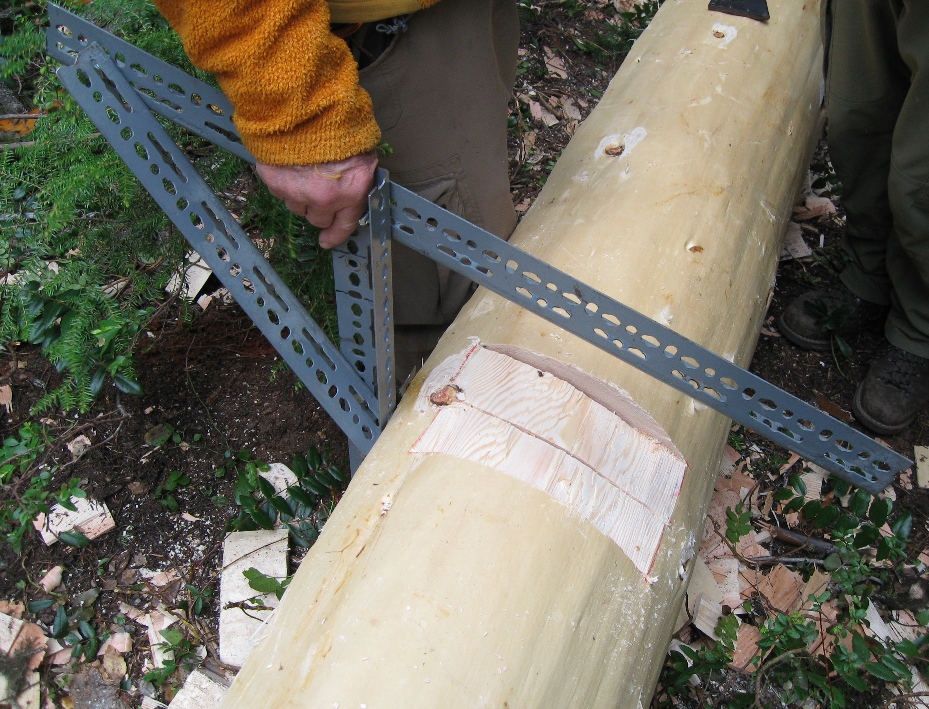
Verifying the post notch angles with a jig.

The handrail posts waiting to be peeled.
Peeling the handrails with a draw knife. Removing the bark extends the life of the wood.
Drilling the post holes with a brace and bit (remember, no power tools allowed). The angle is critical.
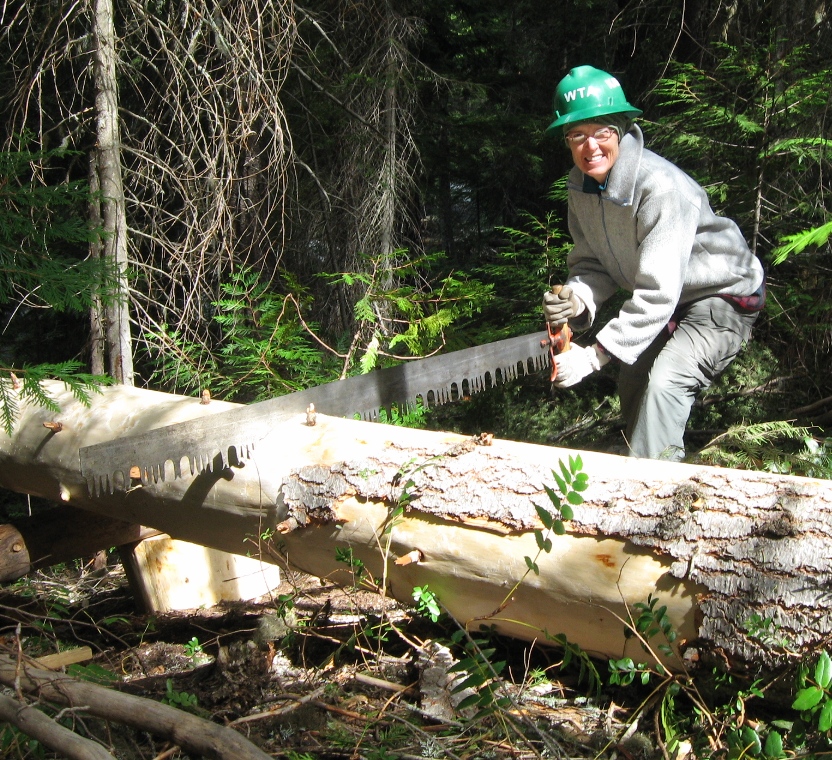
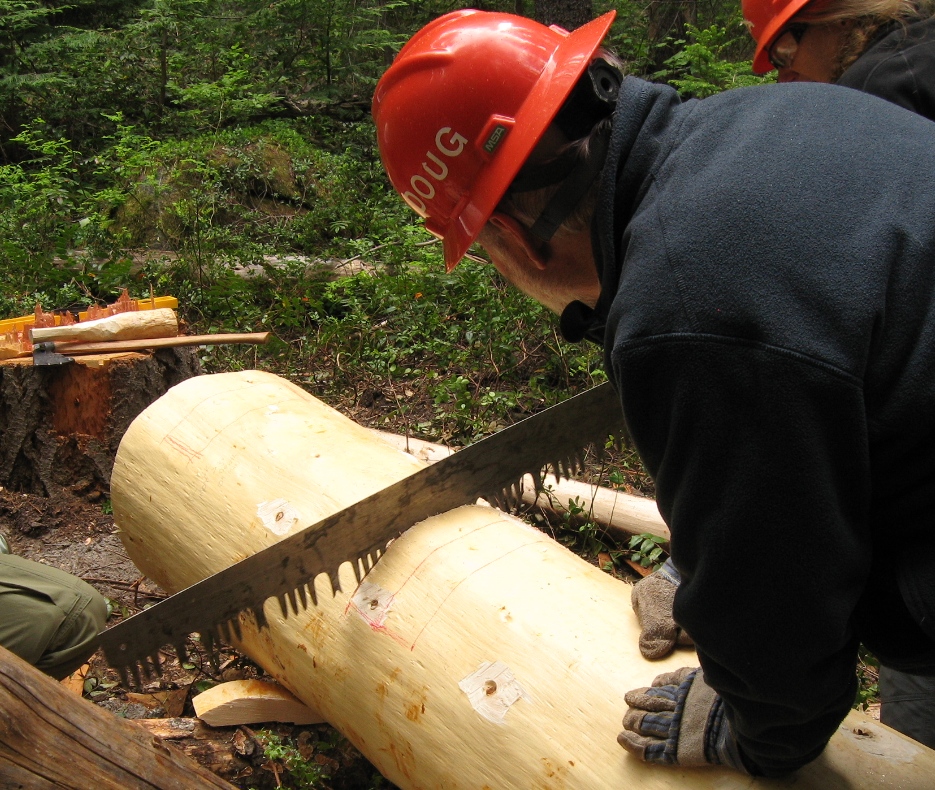
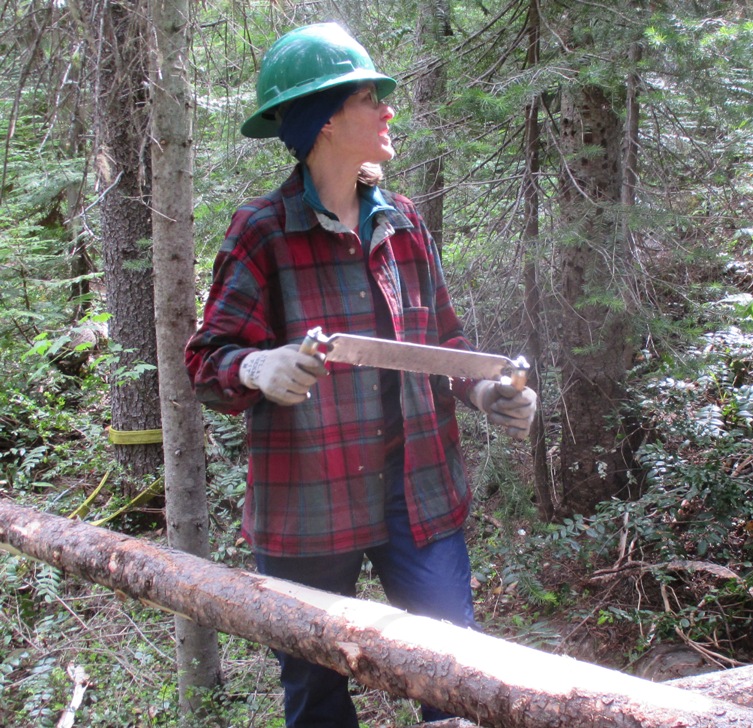
Using a one-person crosscut saw to "buck" (cut) a log into pieces to clear a path for dragging the stringer down the hill to the bridge site.

A grip hoist is a human-powered winch.
Using a grip hoist and cables to lower the log down the hill to the bridge site.
A Day Off
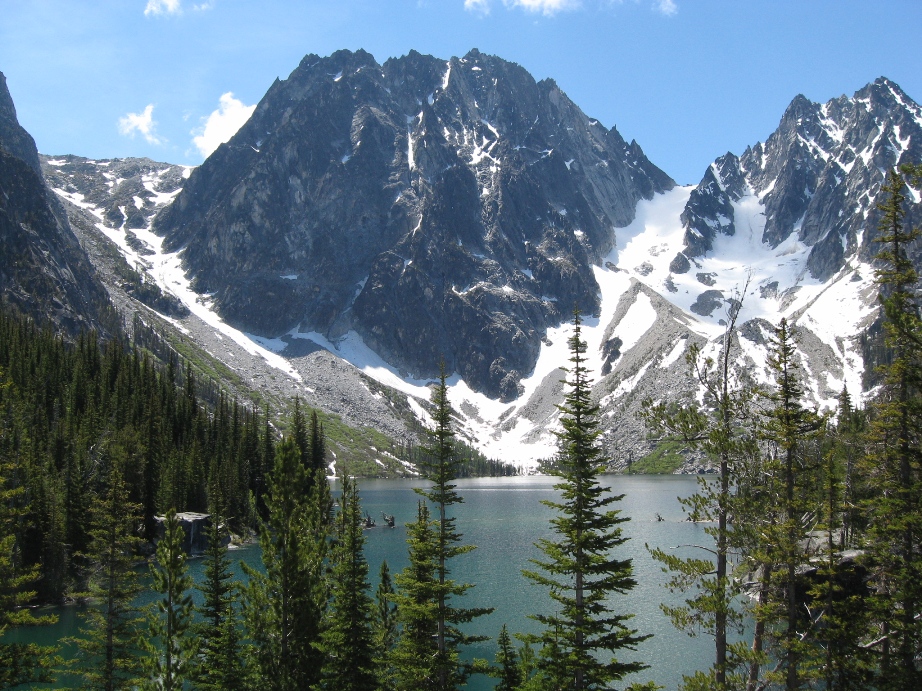
After working for four days we got a day off to go exploring. I hiked up to Colchuck Lake, a gorgeous alpine gem at 5600 feet elevation.
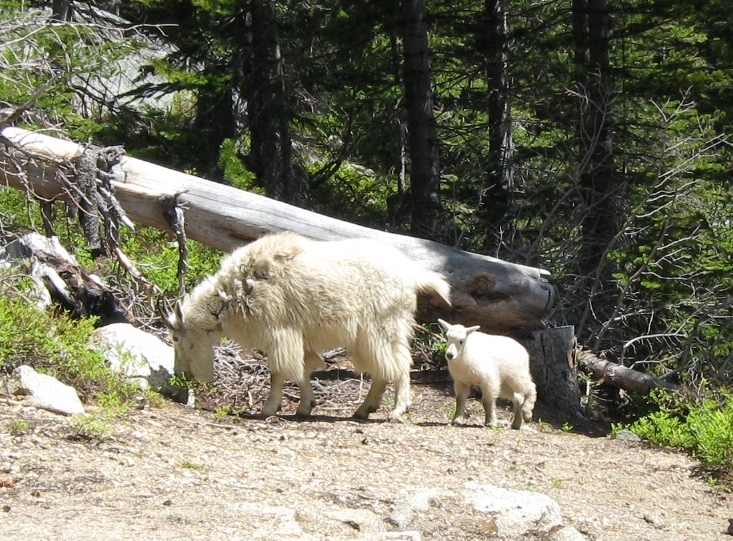
A mountain goat and kid at Colchuck Lake.
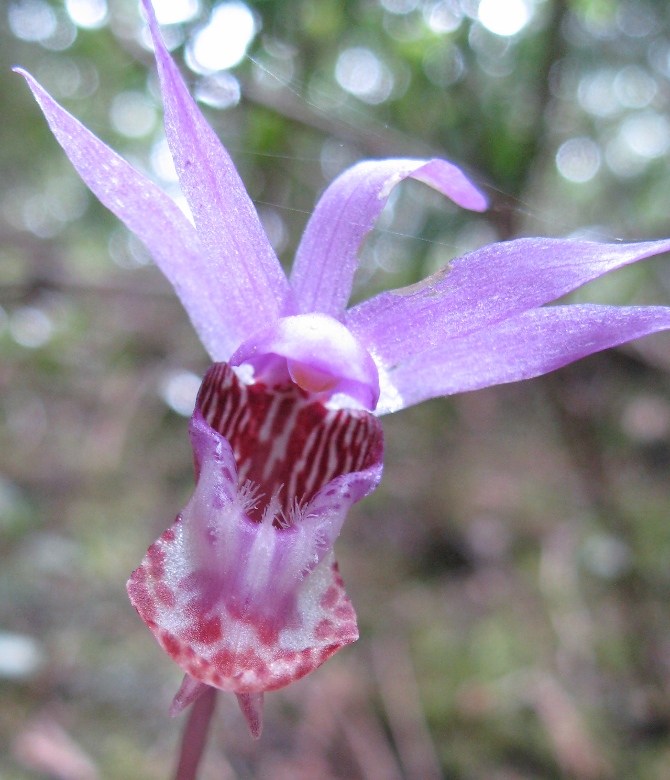
Calypso orchid, or Fairy slipper
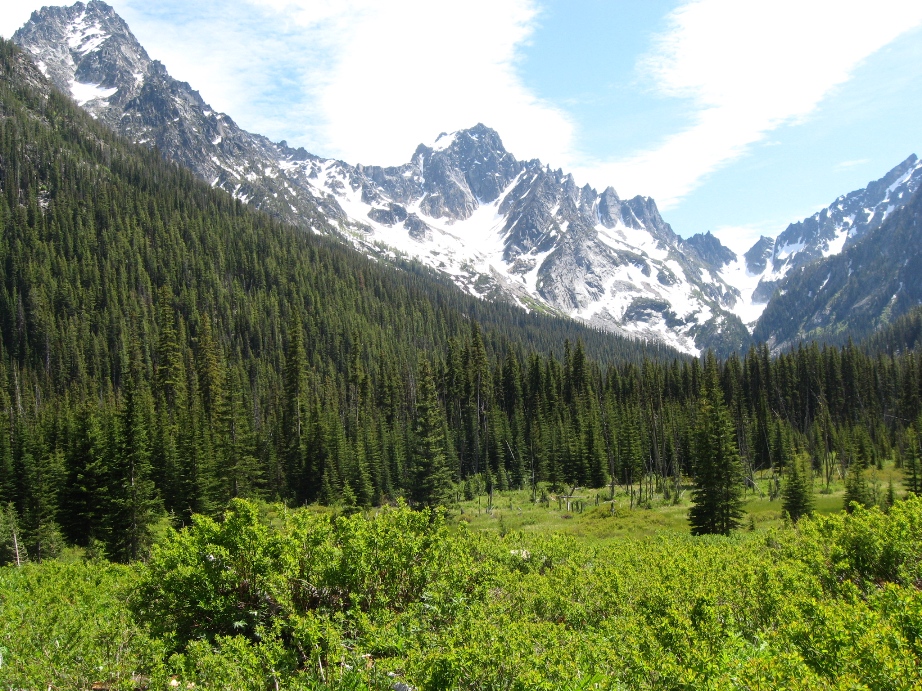
After hiking to Colchuck, I walked partway to Lake Stuart. The trail has magnificent views.
Back to the Bridge
The next task was to get the stringer across the river. The Forest Service crew had set up pulleys in trees on each side of the river.

Using grip hoists, metal cables, and chokers, we slowly pulled the log across the river. We estimated that the log weighed about 3200 pounds.
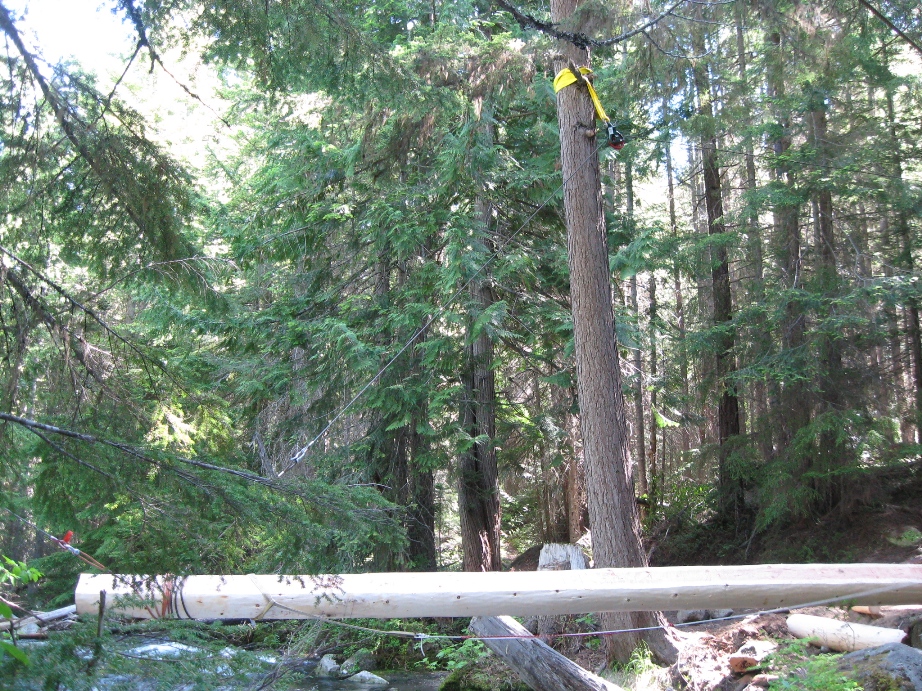
Moving the stringer across the river.

The stringer arrives at the other side.

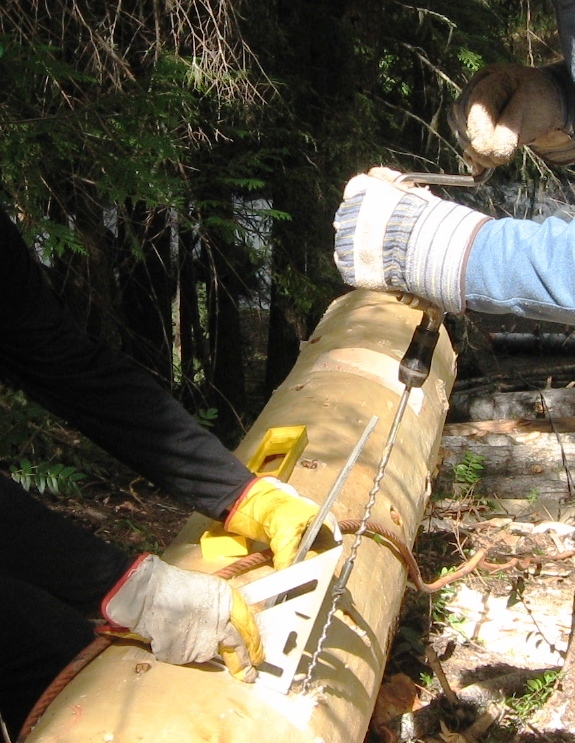
Cutting a notch in the sill where the stringer will sit.

Chiseling the sill notch. We then drilled holes and pounded in rebar to attach the stringer to the sill.
Meanwhile, on the other side of the river: rolling the notched stringer onto the rock sill.

Since this end of the stringer is not nailed down, this board will help prevent the log from rolling. (If the bridge were permanent, the sill would be more substantial.)
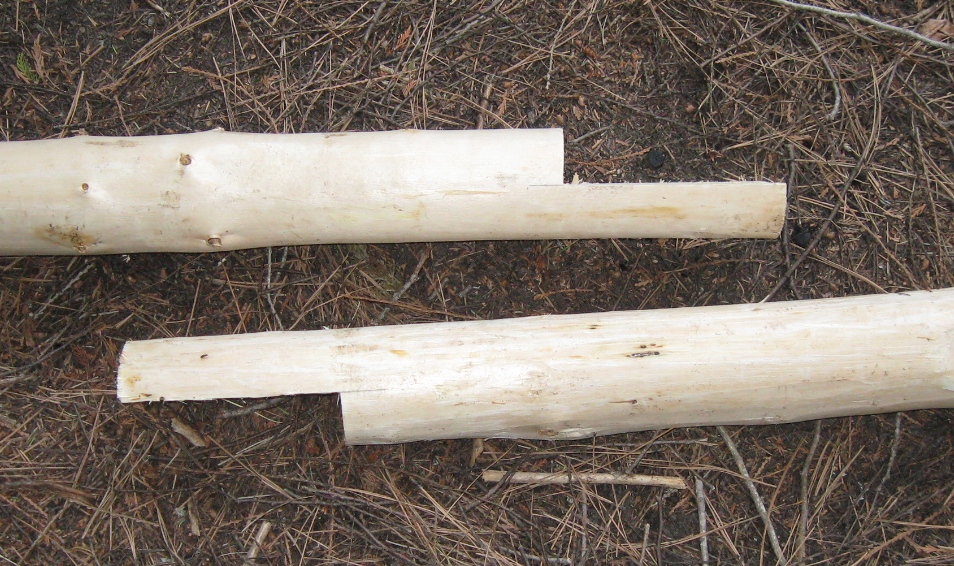
Splicing the handrails together. (The bridge is 36 feet long.)

Lag bolts attach the posts to the stringer. These ladders allowed us to work mid-span.
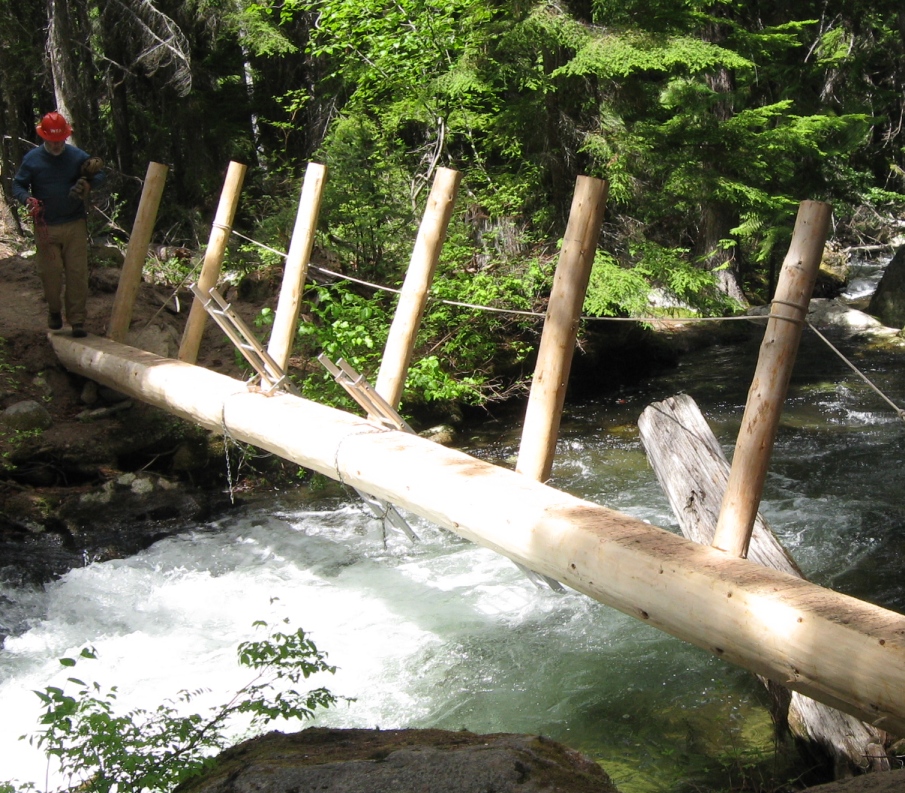
All of the posts are attached.

Measuring the height of the upper handrail.
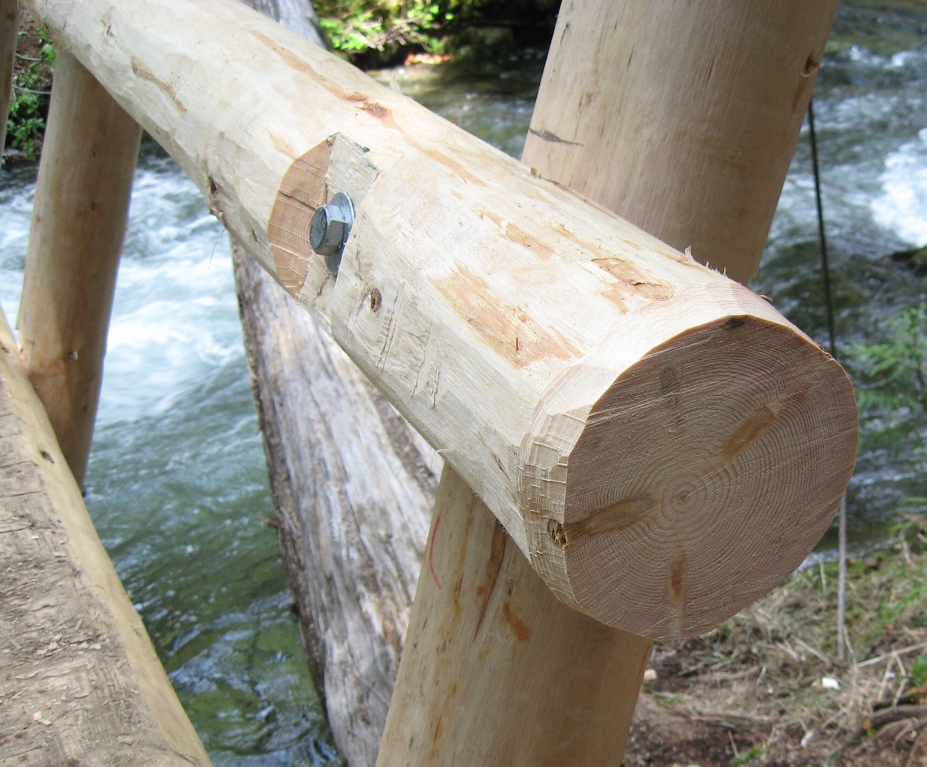
handrail detail.

The finished bridge.
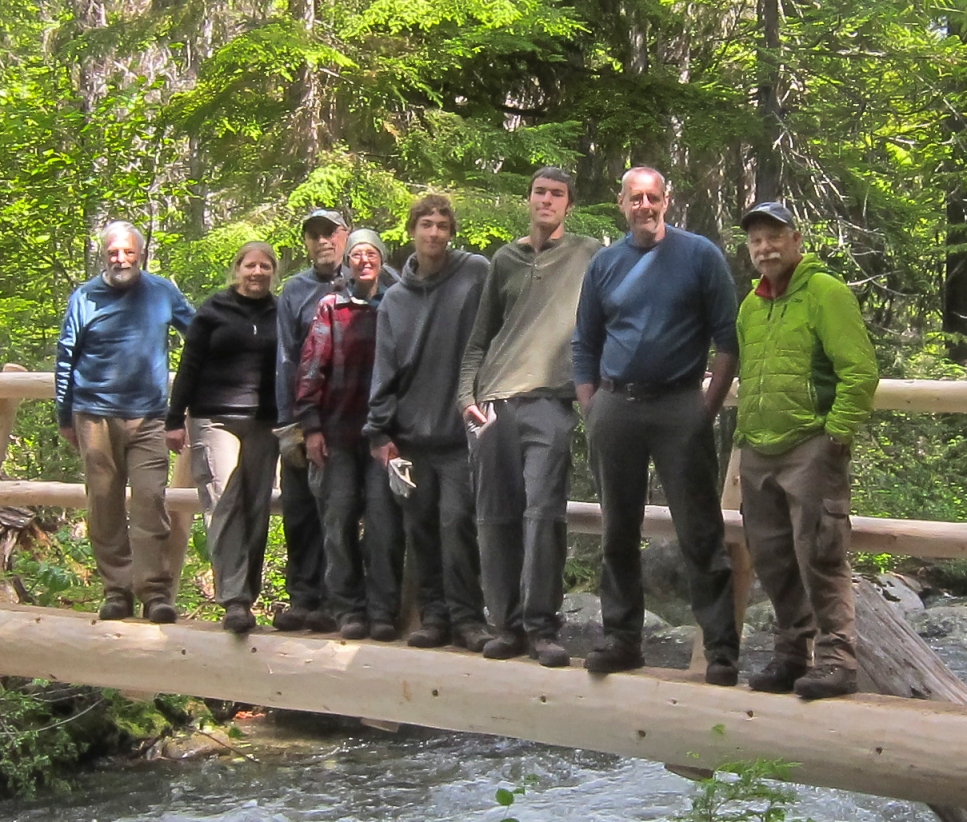
Our group.

Hiking out.